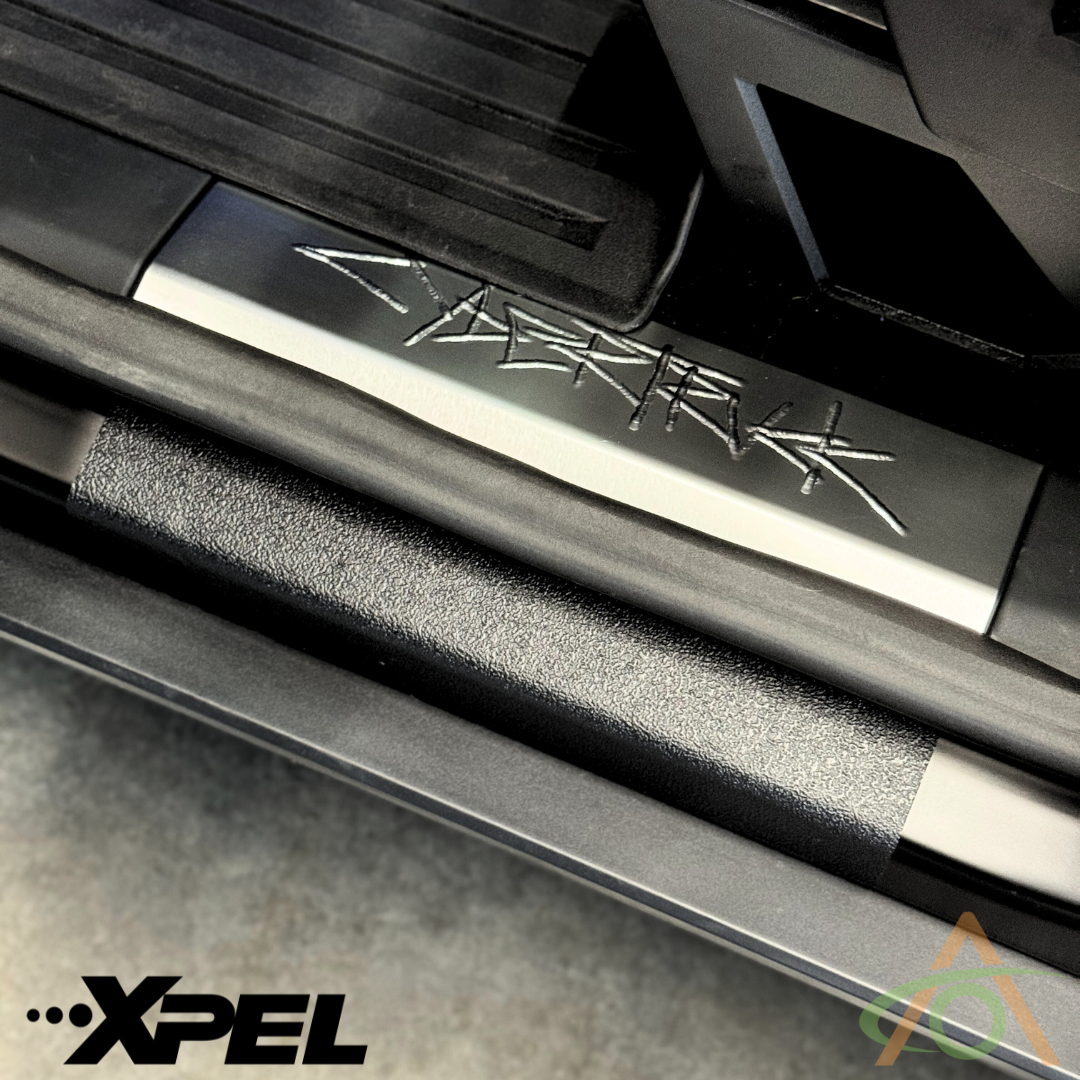
You'll find all the videos you need below. If you're new to these installs, we recommend the following order:
- Door Inserts
- Door Sills
- Frunk Lip
- Lower Door Panels
Please also watch this quick hints & tips video if you've not installed Xpel Armor before.

Installing the Armor door sills
Use the printed instruction sheet included in the kit to identify which piece goes where. No tools or wet mounting are needed — the Armor is peel and stick.
- Start on the driver's side front sill. Clean the area with one of the supplied alcohol wipes.
- Find the alignment point: the width of the piece matches the step in the sill, and the rounded lower corners line up with the bottom of the radius at the edge of the sill.
- Peel the backing off and lay the piece in position without pressing it down hard.
- Check along the edge that the piece is even, level, and matching the step before you commit.
- Apply pressure across the piece, then keep applying pressure as you roll it over the edge of the sill and finish it down.
- Move to the rear sill and clean the area with an alcohol wipe.
- There is no step to align to on the rear. Use the flat area as your reference. A small amount of rotation is fine, but not much — too much and you'll get ripples in the film.
- Peel the backing off. Line the top edge up under the weather strip and the bottom at the bottom of the radius.
- Apply light pressure, then roll the piece over the edge with your thumb.
- Tuck the top edge up under the weather strip so none of the Armor is left sitting proud.
If you trap air or the piece lands off position, peel it back off and lay it down again. It removes cleanly and can be repositioned without harm.