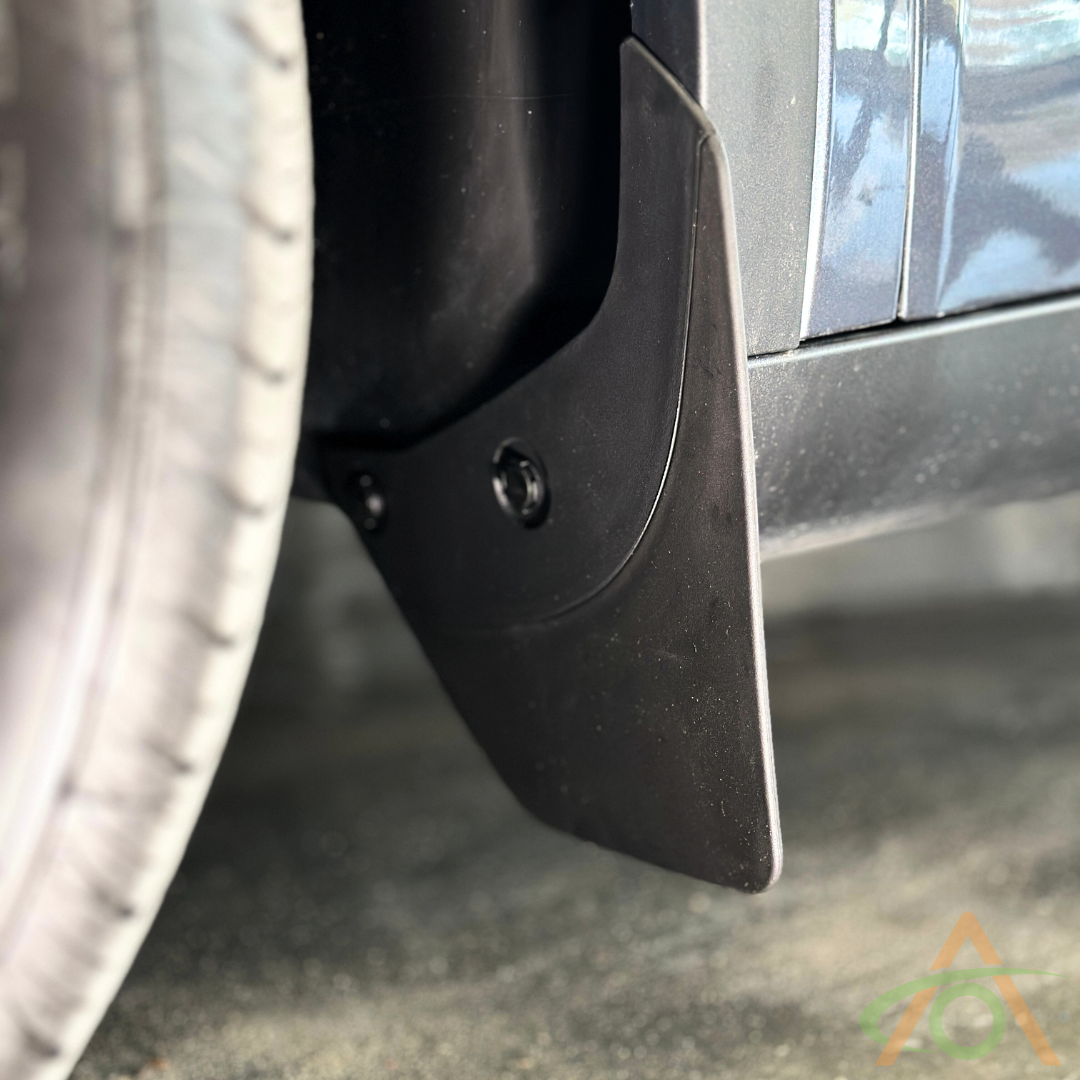
Please refer to the quick video below, and remember the following points:
- Turn your front wheels to get better access when installing the front flaps
- If you feel any kind of rebound or springy resistance on the bolt for the rear mudflap, STOP, and apply WD40 liberally. Then wait 30 minutes and try again.
Installation
The mudflaps come with two labeled bags of clips, front and rear. The rear clips are slightly longer. Use the bag that matches the flap you are fitting.
Front mudflaps
- Turn the front wheel outward to open up access to the wheel arch.
- Pop out the two factory trim clips in the arch liner with a small flat blade screwdriver. These clips are not reused.
- Wipe the area clean. It does not have to be spotless, it just helps the flap sit properly.
- Hook the clips on the mudflap over the edge of the wheel arch. On Model Y they clip around the wheel arch trim, on Model 3 they clip around the bodywork.
- Slide the flap down until its holes line up with the holes in the liner.
- Push a front clip into each hole, then push the center pin in flush to lock it.
Rear mudflaps
- Fit the rear flap behind the rear wheel, on the rear fender. It does not go at the front of the rear wheel well.
- Locate the 10mm bolt under the car at the bottom of the wheel arch. Use the 10mm socket wrench supplied rather than a socket set, so you can feel exactly how the bolt is turning.
- Start turning the bolt out. If you feel any rebound or springy resistance, stop, soak the bolt in WD-40 and leave it at least 30 minutes before trying again. Repeat with more WD-40 until it turns freely.
- Once the bolt turns without that springy feel, wind it out. Keep the washer with the bolt.
- Pop out the factory trim clips in the arch liner with a flat blade screwdriver, wiggling them free.
- Hook the clip on the mudflap behind the wheel arch edge first, so the flap holds itself in place.
- Slide the flap down until it settles into position, with the holes lined up and the tongue at the bottom sitting over the bolt hole.
- Push the longer rear clips into the holes and push the center pins in to lock them.
- Start the bolt back in by hand, with the washer fitted, then finish it with the supplied wrench. Hand tight is enough.
If the rear bolt breaks while you are removing it, the flap can be used without it. The arch clips hold it securely on their own.