Please watch the video below, and ensure the following before starting:
- The application area must be completely clean (it doesn't matter if it has a ceramic or wax coating, it just needs to be free of dirt)
- Apply when it's at least 60f/16c
- After application, do not expose to rain of extreme weather for 24hrs
Installing the rocker PPF
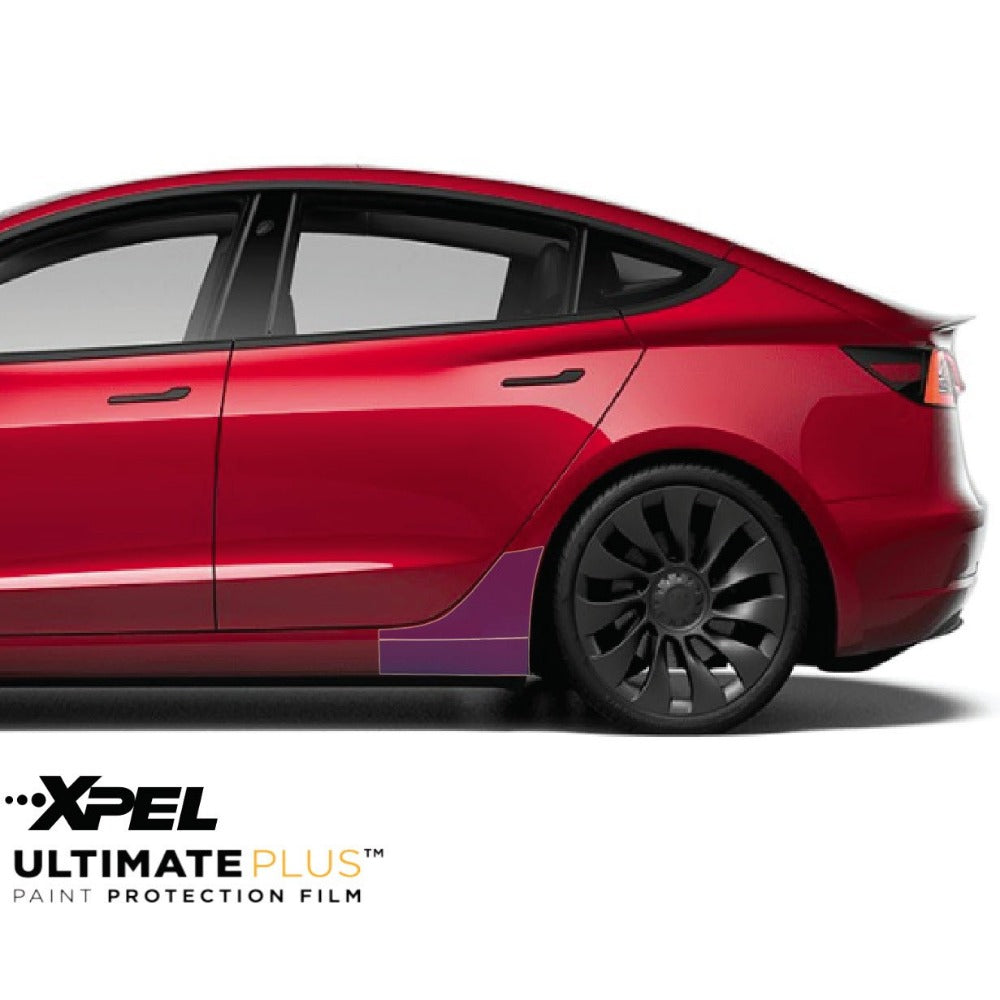
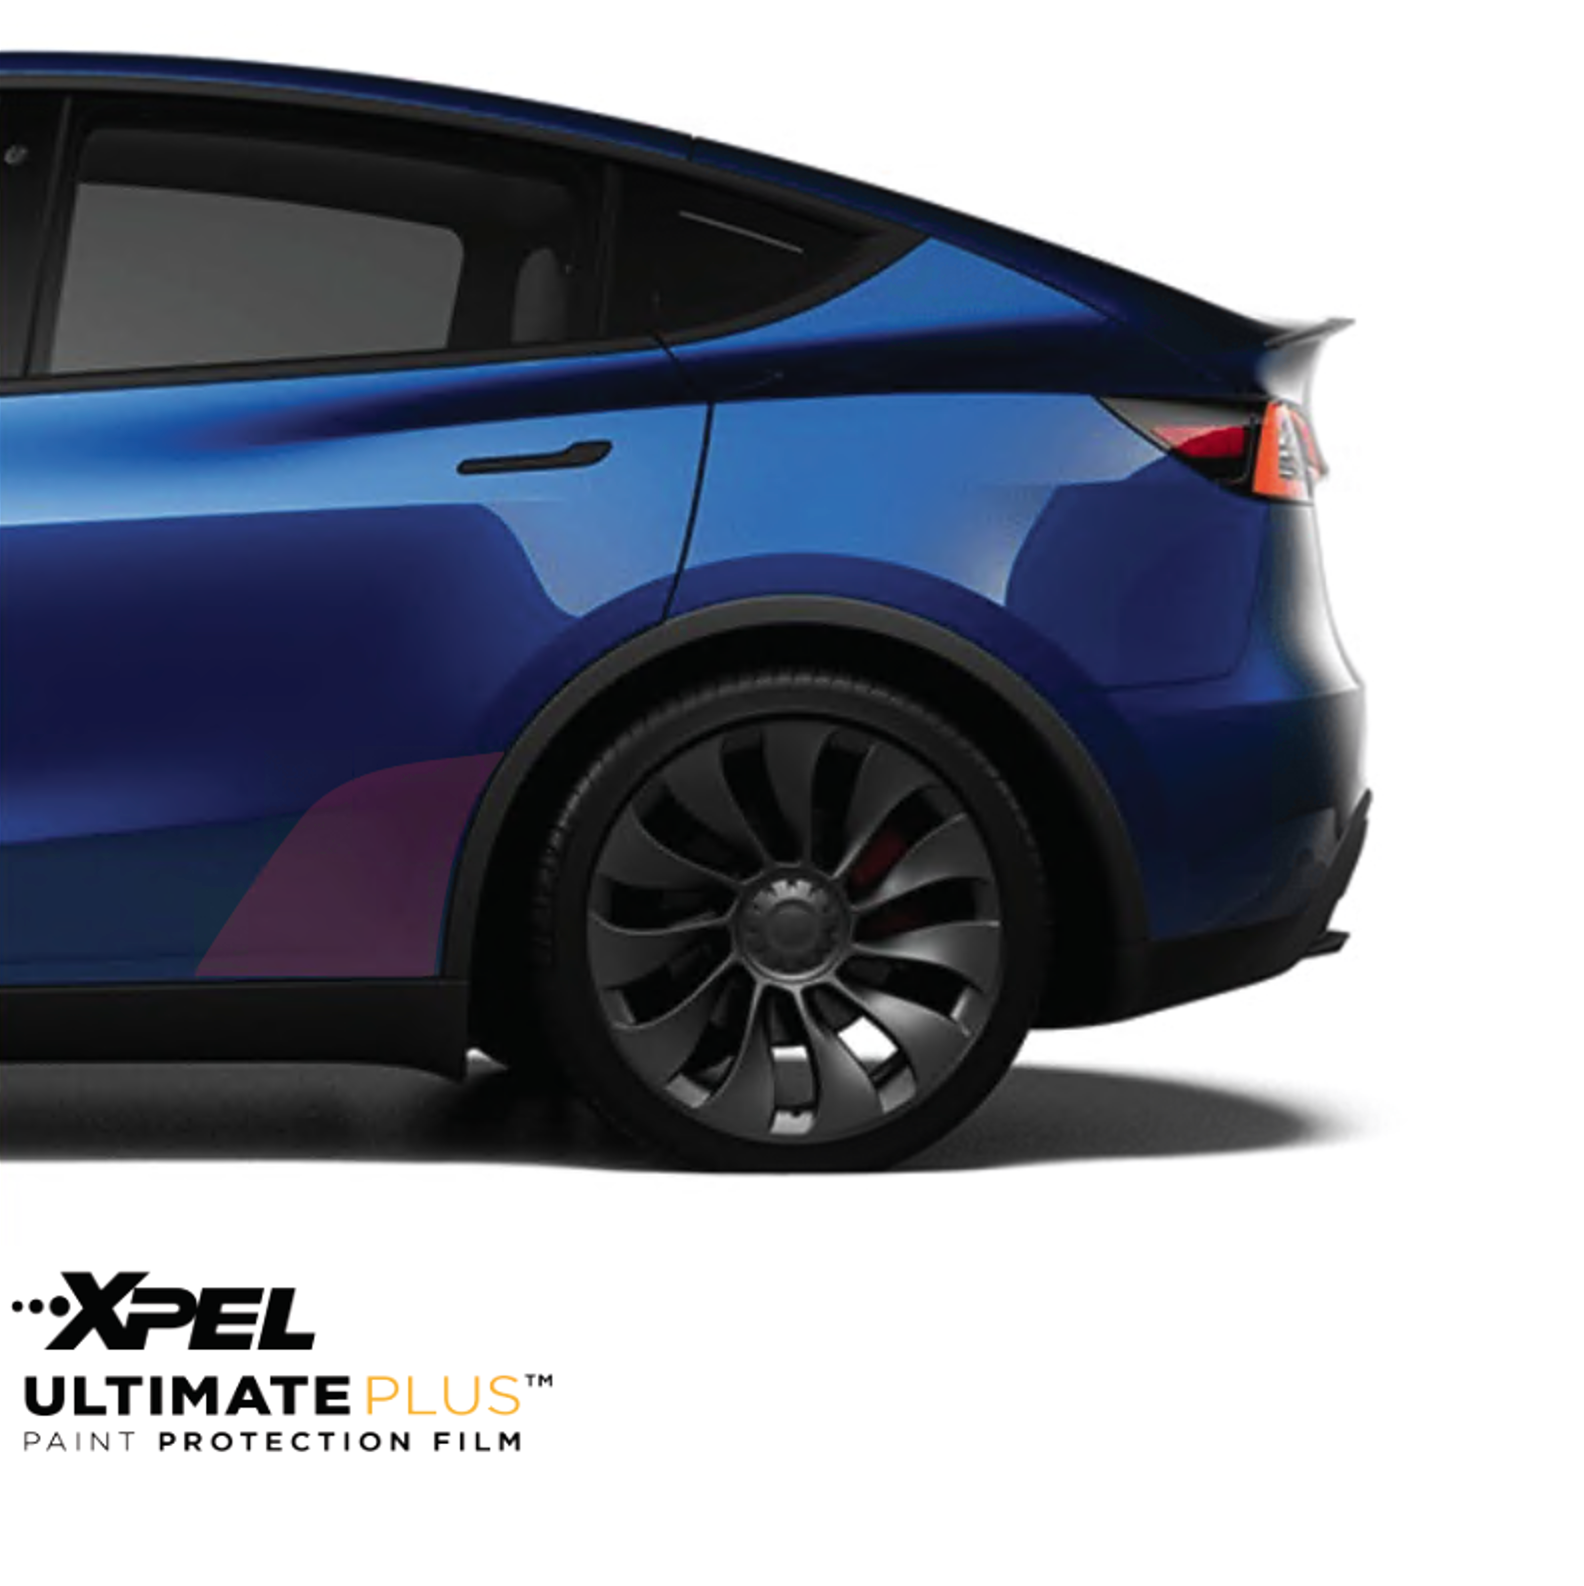
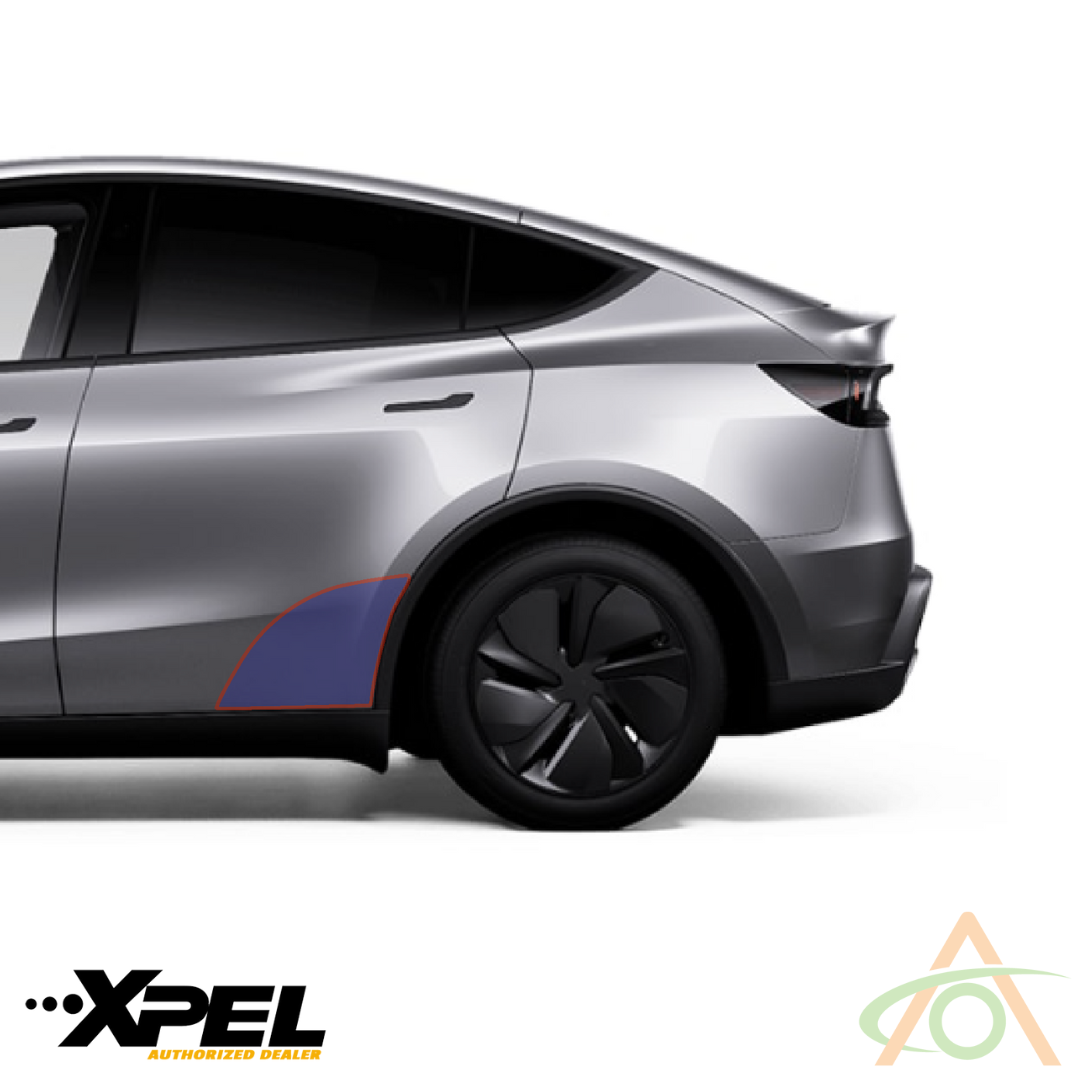
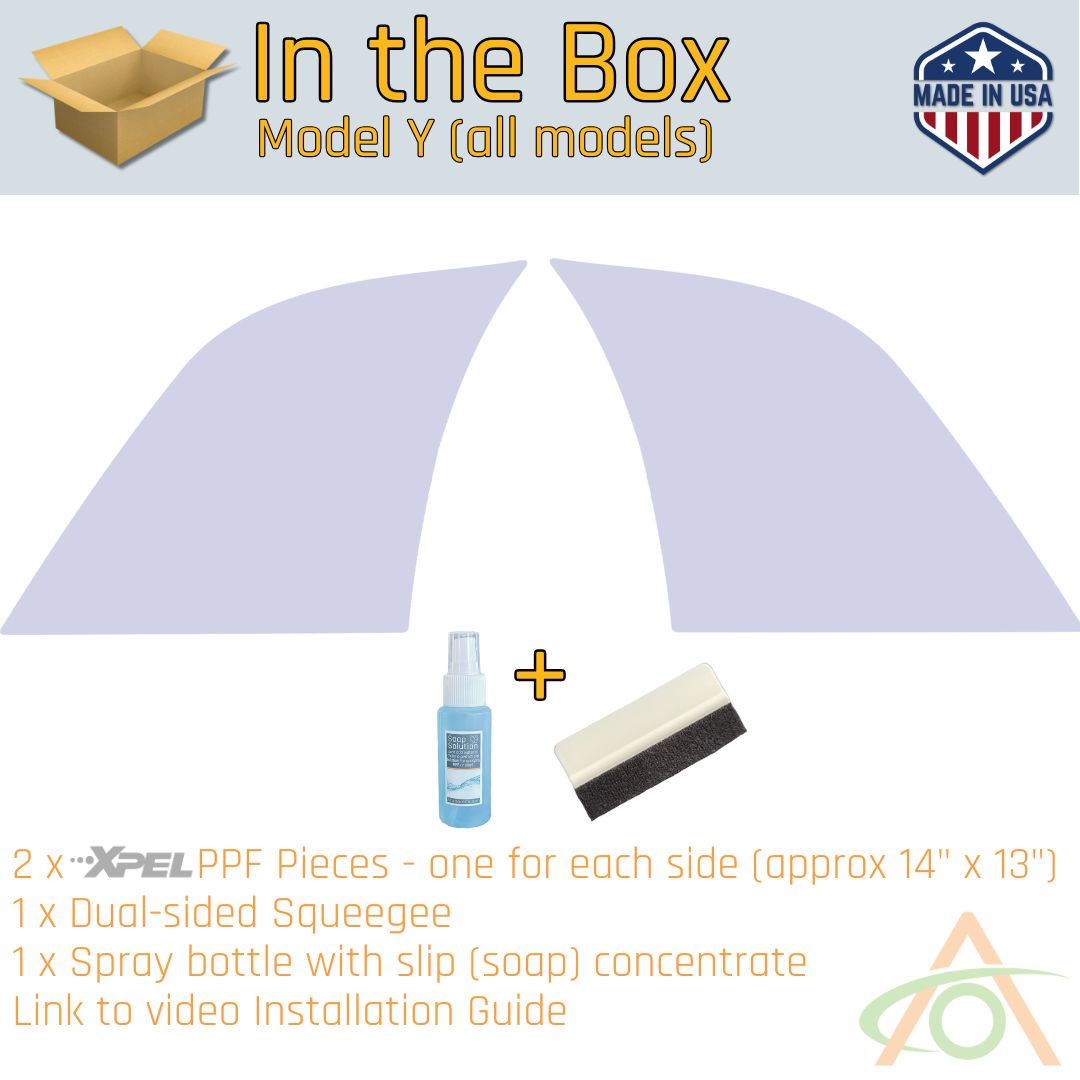
This install is the same for Model 3 and Model Y. The kit has two pieces: a bottom piece and a top piece.
Slip solution: you can use our spray solution (one bottle per side), or mix your own: roughly 10% baby shampoo to water. Distilled or deionized water is ideal but not essential. Use a cheap baby shampoo with no moisturizers or oils.
Tip: install in temperate conditions, between 60°F and 80°F (16°C and 27°C).
- Make sure the paint in the application area is clean and the temperature is at least 60°F/16°C.
- Have a couple of clean rags on hand for wiping away the solution later.
- Start with the bottom piece. Spray the rocker panel with slip solution and get good coverage.
- Peel the piece off the backing sheet and lay it face down. Note which way round it sits on the carrier sheet — the bottom piece looks similar at both ends, so keep it the same way round as it was on the sheet when you move it to the car.
- Spray the back (adhesive side) of the film generously. You can't use too much solution.
- Lay the piece onto the rocker panel and slide it into position. Keep the lower edge just short of the wheel well radius — close to it, but not wrapping around it. Film wrapped around the radius will eventually lift and trap grit.
- With the squeegee, gently work from the center outward to push out the large air bubbles first.
- Now do the top piece. Spray the car, then peel the piece back and spray its adhesive side.
- Place the top piece on the car and position it. On the lower edge, bring it close to the radius but make sure it sits on top of the radius. Follow the contour of the car along the door opening. On the edge nearest the door, leave a couple of millimeters off the radius.
- Squeegee out the worst of the air bubbles. Work toward the narrow part of the piece so you don't deform its shape.
- Wipe away the bulk of the solution with a clean rag.
- Go back over both pieces with the squeegee and chase the remaining slip solution out of the edges. Keep going for a couple of minutes. You can't damage the PPF by squeegeeing it.
- When the film is on properly it will look completely smooth and glossy. If a small amount of solution is still trapped underneath, leave it — it will work itself out and evaporate. If there's a lot, just squeegee it again.
After application, don't drive in the rain for 24 hours and avoid extreme temperatures or weather. If you ever want to remove the film, it peels straight off.