Please refer to the short video below.
Installing the Rocker Protection Film
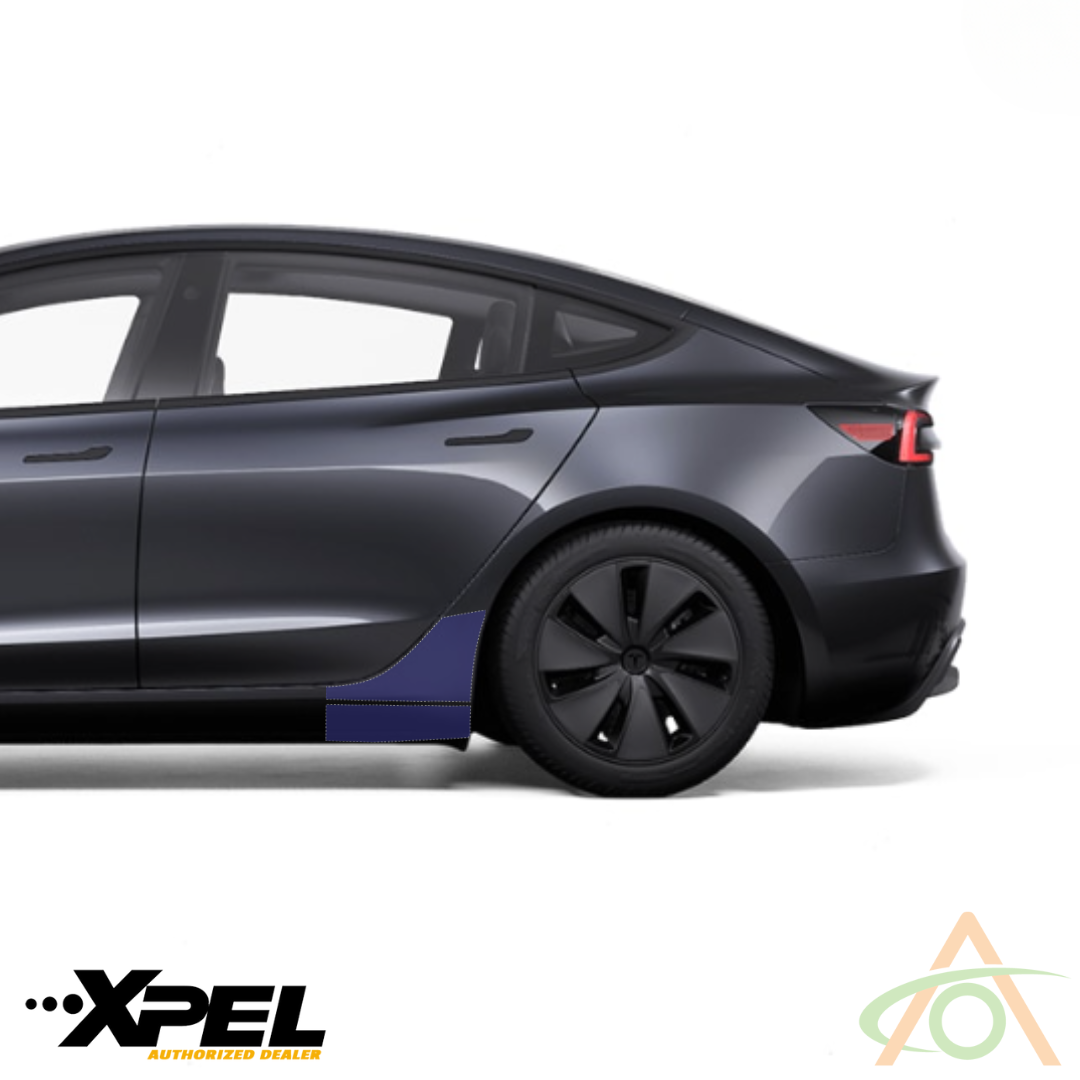
This kit fits the refreshed Model 3 (Highland) only.
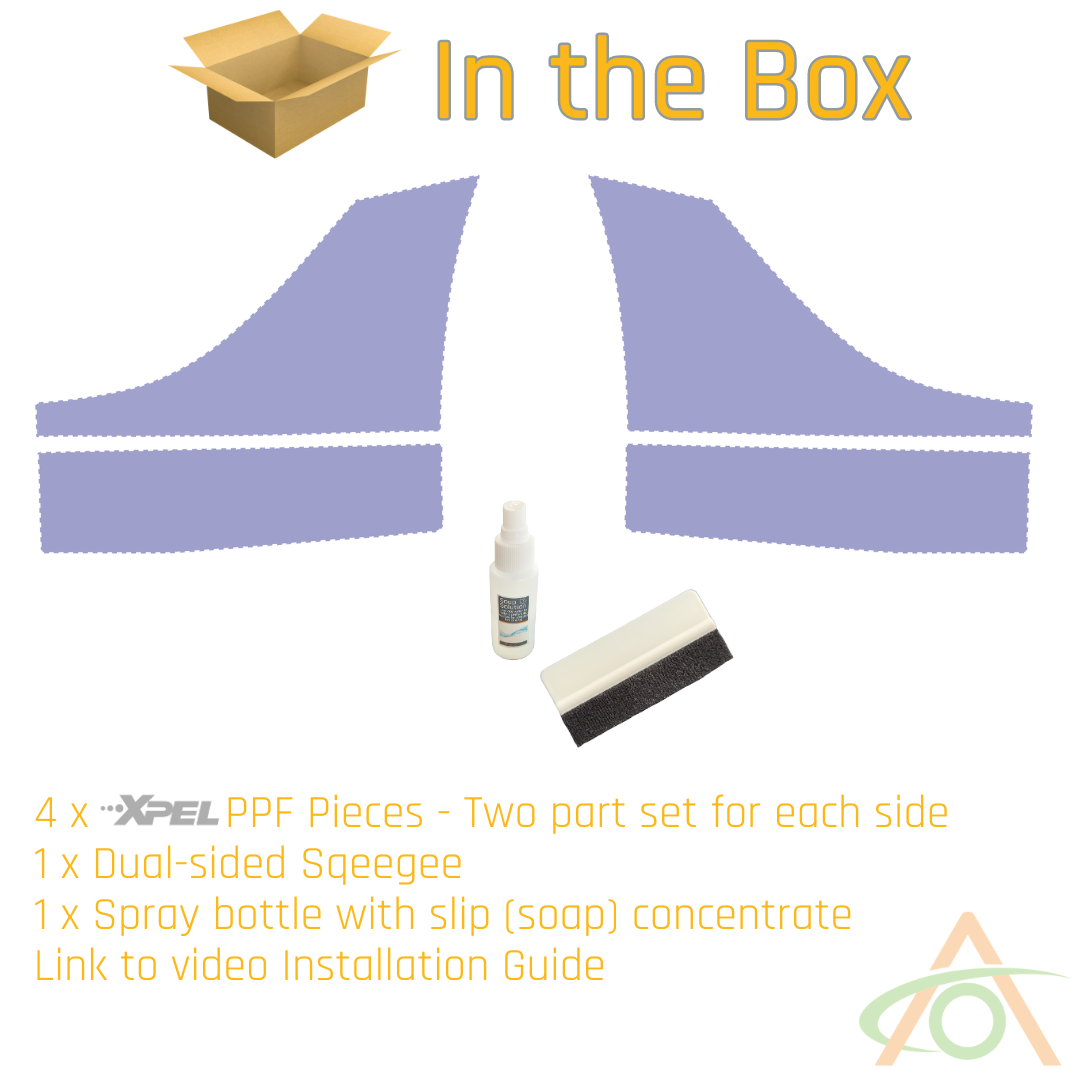
Each side uses two pieces: a larger piece that sits above the weld line along the rocker, and a narrower strip that sits below it. The film is supplied in gloss, so it is effectively invisible once installed.
You will also need a shop rag to mop up the slip solution, and water to mix with the supplied slip solution concentrate.
Tip: Install in temperate conditions, between 60°F and 80°F (16°C and 27°C). If you cannot, let the car sit for at least a day after the install before exposing it to bad weather.
- Add water to the bottle of slip solution concentrate and shake to mix.
- Clean the rocker panel thoroughly. Any dirt or grit will show under the film, and any ceramic coating will stop the film adhering properly. You can wipe the area down with the slip solution.
- Wash your hands so you do not transfer oils to the adhesive side of the film.
- Take the larger upper piece for the side you are working on. Peel it off its backer and spray slip solution onto both the adhesive side and the panel.
- Lay the piece onto the rocker. It should float and slide freely on the slip solution. If it will not move, peel it back and apply more slip solution.
- Line the piece up on three points:
- At the wheel well, stay close to the edge but do not let the film wrap around the radius.
- Along the lower edge, keep the film on the flat outer plane – do not roll it over the edge.
- Along the weld line, stay clear of the line itself, which wanders along the panel.
- Get down to eye level and squeegee the fluid out from under the film. Work it out to the edges. If an area is not adhering, peel that section back, spray it again, and re-squeegee.
- Wipe up the squeezed-out fluid with the rag. Check for trapped fluid and keep squeegeeing until it is gone.
- Take the lower strip. Note that it is not a perfect rectangle – the leading edge is the slightly fatter end. Check the orientation before you place it.
- Peel the strip off its backer and spray slip solution on the adhesive side and on the panel.
- Place the strip below the weld line. Kneel down to check the alignment:
- Keep the trailing edge away from the turn into the wheel well.
- Keep the whole strip below the weld line.
- Stay well clear of the panel line at the bottom.
- The strip turns up slightly at the end to follow the body contour – keep the film on contoured surface only, not over any edge.
- Squeegee the strip out fully and wipe away the fluid. Take your time and check again for any remaining trapped fluid.
- Repeat for the other side of the car.