Please watch the video below to see how to install the lights in the R1T & S, and the following video for the frunk location in R2.
Installing the Ultra-Bright Lights
The only tool you need is a flat-blade screwdriver. A non-marring spudger also works if you prefer.
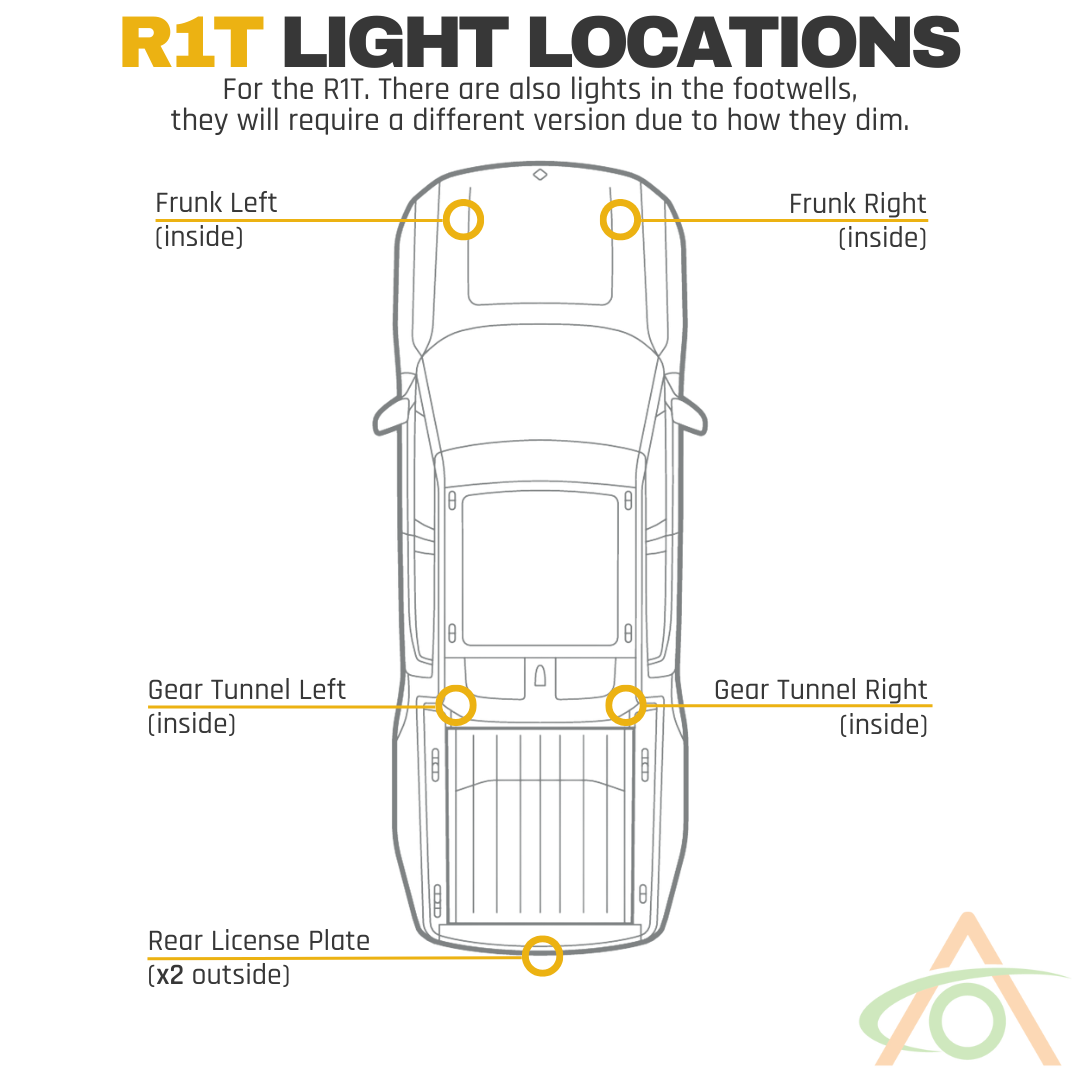
Front (frunk) lights
- Look along the edge of the factory light. One end of the lens has a small pry area next to the release clip. Work from that end only.
- Gently slide the screwdriver into the pry area and push in. The light pops out of its housing.
- Squeeze the side of the connector to release the catch, then pull the light off the connector.
- Push the new light onto the connector and listen for the click.
- Put the connector end into the housing first, then press the other end in until the light snaps home.
- Repeat for the light on the other side.
Gear tunnel lights
- Get your head into the gear tunnel so you can see the factory light.
- Slide the screwdriver under the light at the notch and push to release it.
- Squeeze the connector and pull the light off. There is very little slack in the cable here, so keep hold of the connector and don't let it slip up behind the trim.
- Snap the new light onto the connector.
- Line the light up with the notch in the plastic surround and press it in until it snaps back into place.
- Repeat for the light at the other end of the gear tunnel.
These lights are for the non-dimming locations only: the frunk and the gear tunnel. They are not compatible with the front footwells.