Please watch the video below:
Installing the B & C Pillar Vinyl
This is a wet install. Wash your hands or wear gloves before you start so you don't affect the tack of the vinyl. Work in good light. If you're working outside, avoid windy, very cold, or very hot conditions.
- Mix the included soap solution with water in a spray bottle.
- Clean the pillar with an alcohol wipe to remove dust, fingerprints, and any other dirt. 70% isopropyl alcohol also works.
- Spray the pillar liberally with the soap solution. Don't be shy with it.
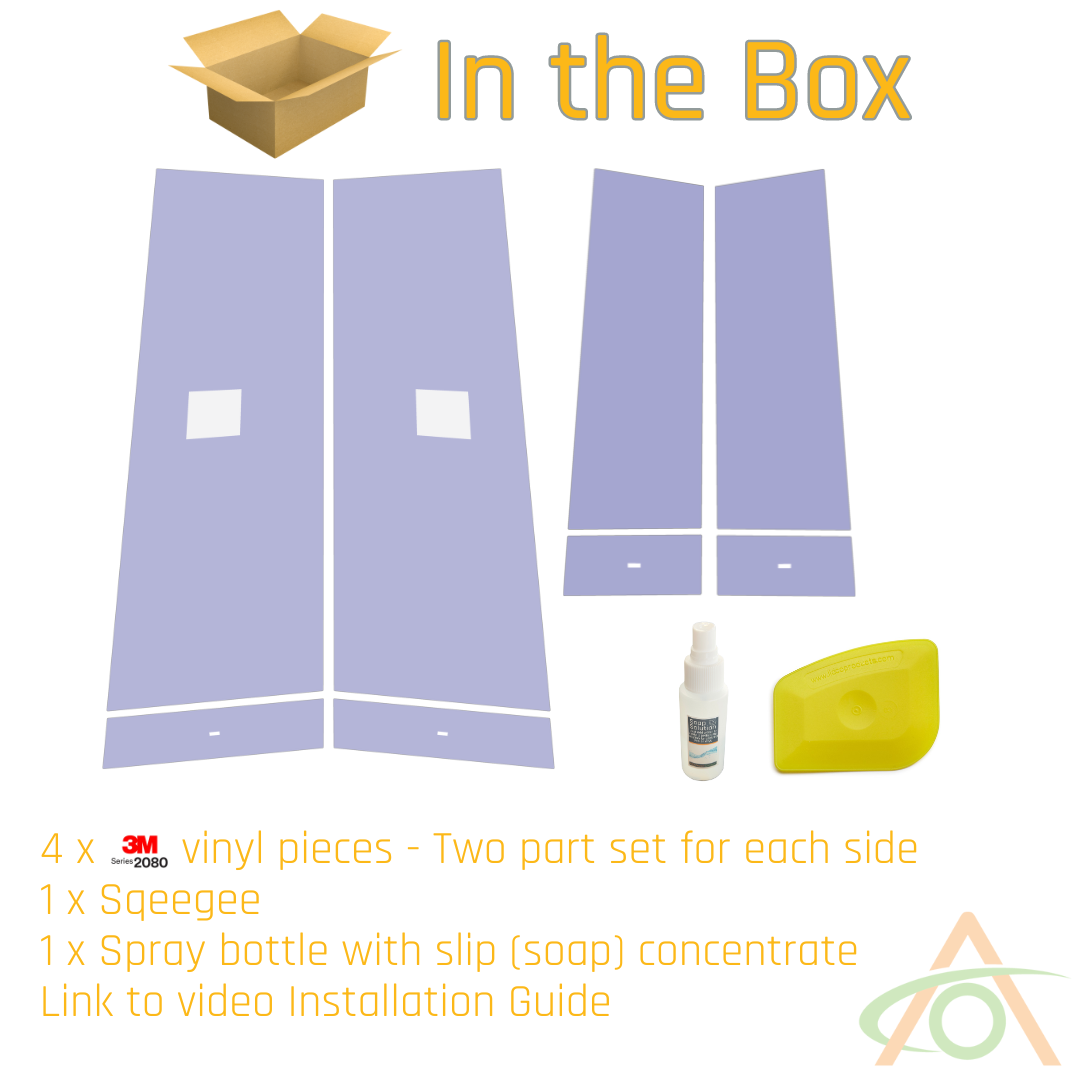
- Peel the backing from the small button piece. Pay attention to the orientation — it only goes on one way.
- Spray the adhesive side of the button piece with soap solution, lay it over the button, and leave it to float for now.
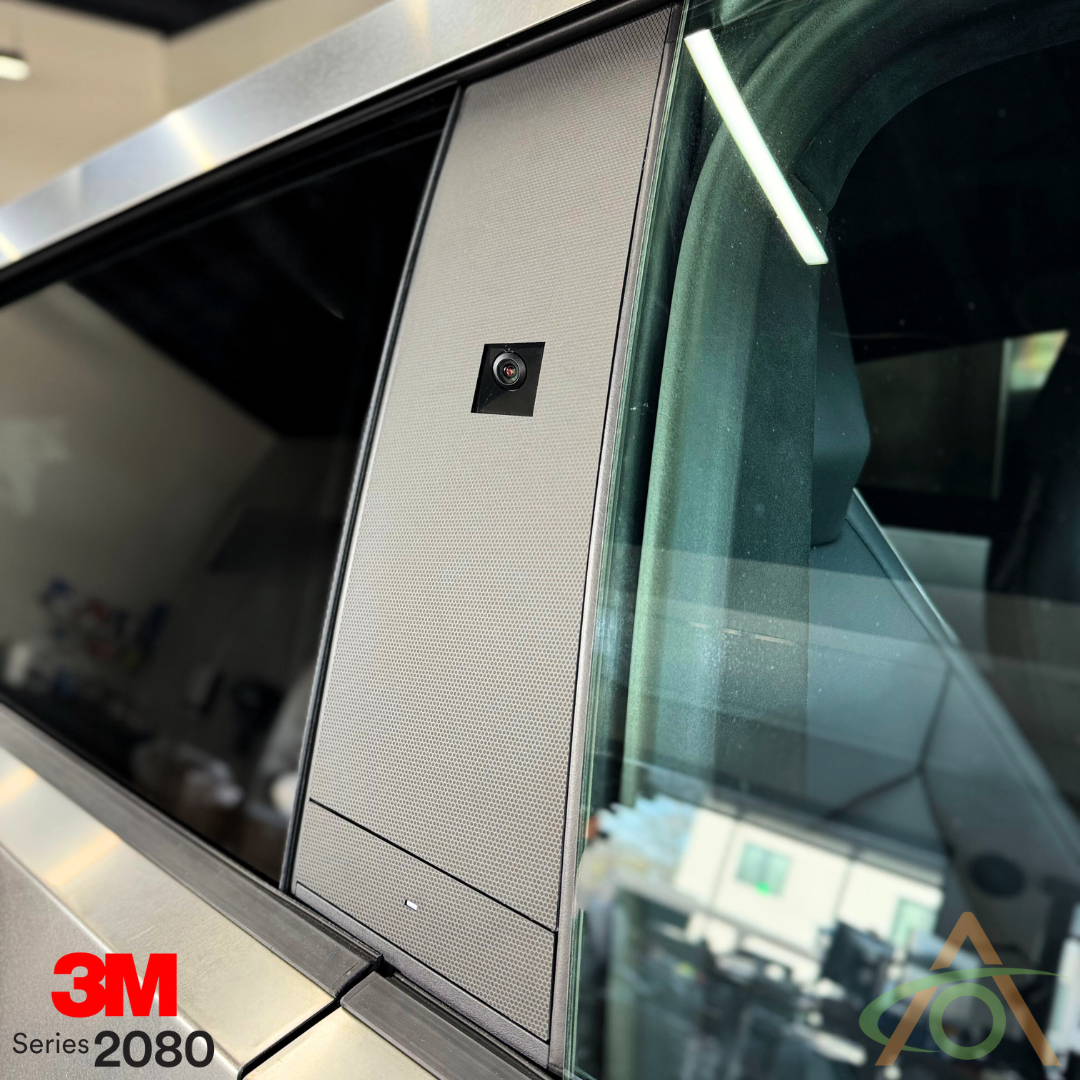
- Peel the backing from the large B pillar piece. Go slowly around the camera cutout so you don't stretch the vinyl.
- Spray the adhesive side of the large piece.
- Lay the large piece on the pillar and slide it upward so the top edge tucks in under the trim at the top.
- Float the piece into position. Line it up against the two edges — the weather seal butts right up against the glass, so check the fit along there.
- Squeegee the piece with the soft squeegee, working the fluid out from under the whole panel. The vinyl is air-release, so even where it looks flat you still need to squeegee it all.
- Return to the button piece. Check all four corners and the unlock LED cutout are lined up. Hold one end down with your thumb and squeegee away from it. Re-check the position and squeegee again — it will keep moving until more fluid is out.
- Let the vinyl dry. Sunshine is ideal; a couple of hours will do it. You can also use a hair dryer or heat gun on a low to medium setting just to help the fluid underneath evaporate. You are not trying to stretch or conform the vinyl.
- Repeat on the C pillar: clean the area, check you have the correct piece for that side, spray the pillar, then do the button piece first, followed by the large piece.
- On the C pillar, eyeball the edge that runs along the rubber trim. That trim moves, so leave a tiny clear margin between the vinyl and the trim along that edge.
- Squeegee the C pillar piece, then re-check its position and squeegee again. Keep watching that it hasn't crept out of place as you work.
- On the C pillar button piece, check that edge and the LED cutout, and run the squeegee tip around the gap so it looks even all the way along.
- Squeegee the last of the moisture out and let it dry.
While the vinyl is still wet you can peel it off gently and reapply it if you spot something you want to fix.