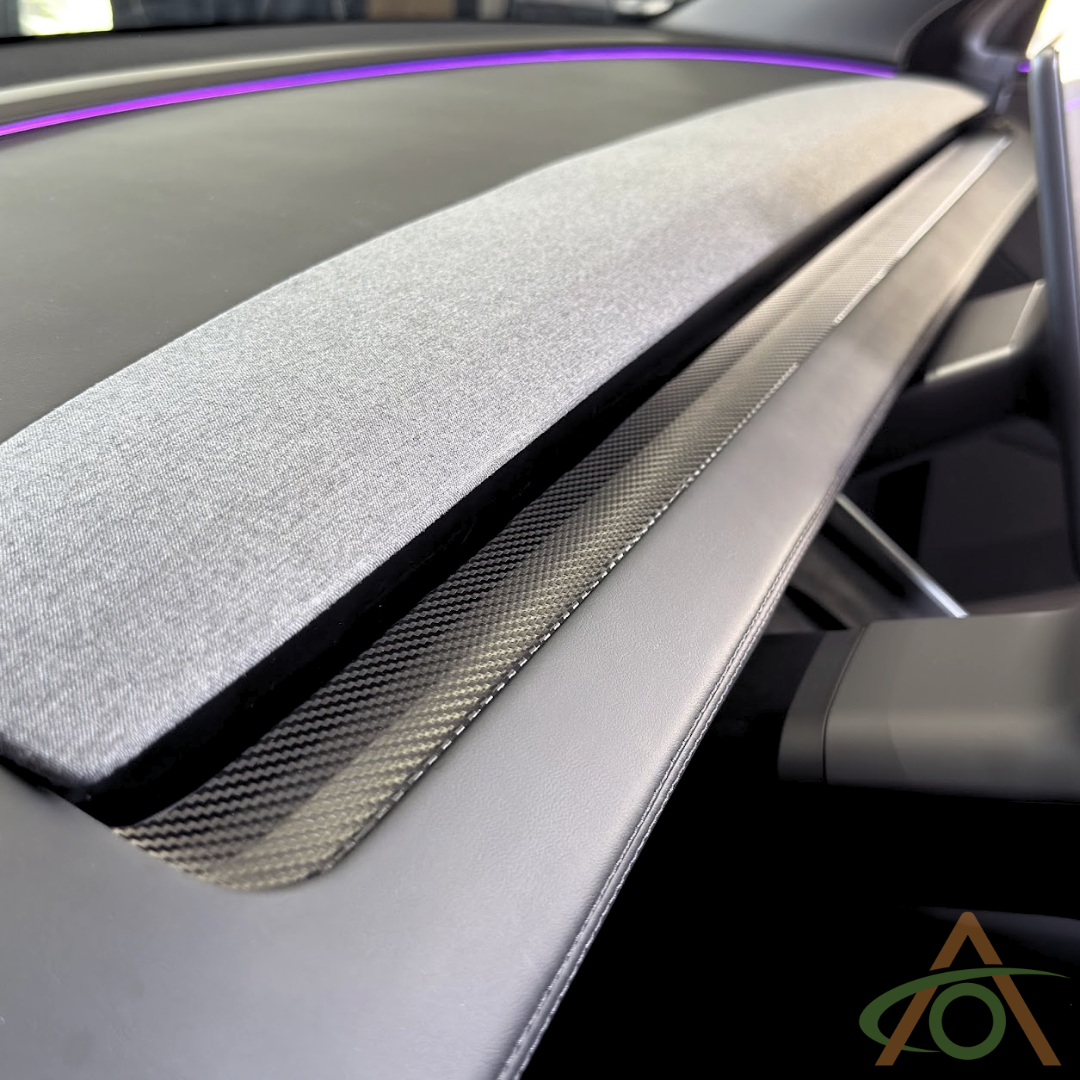
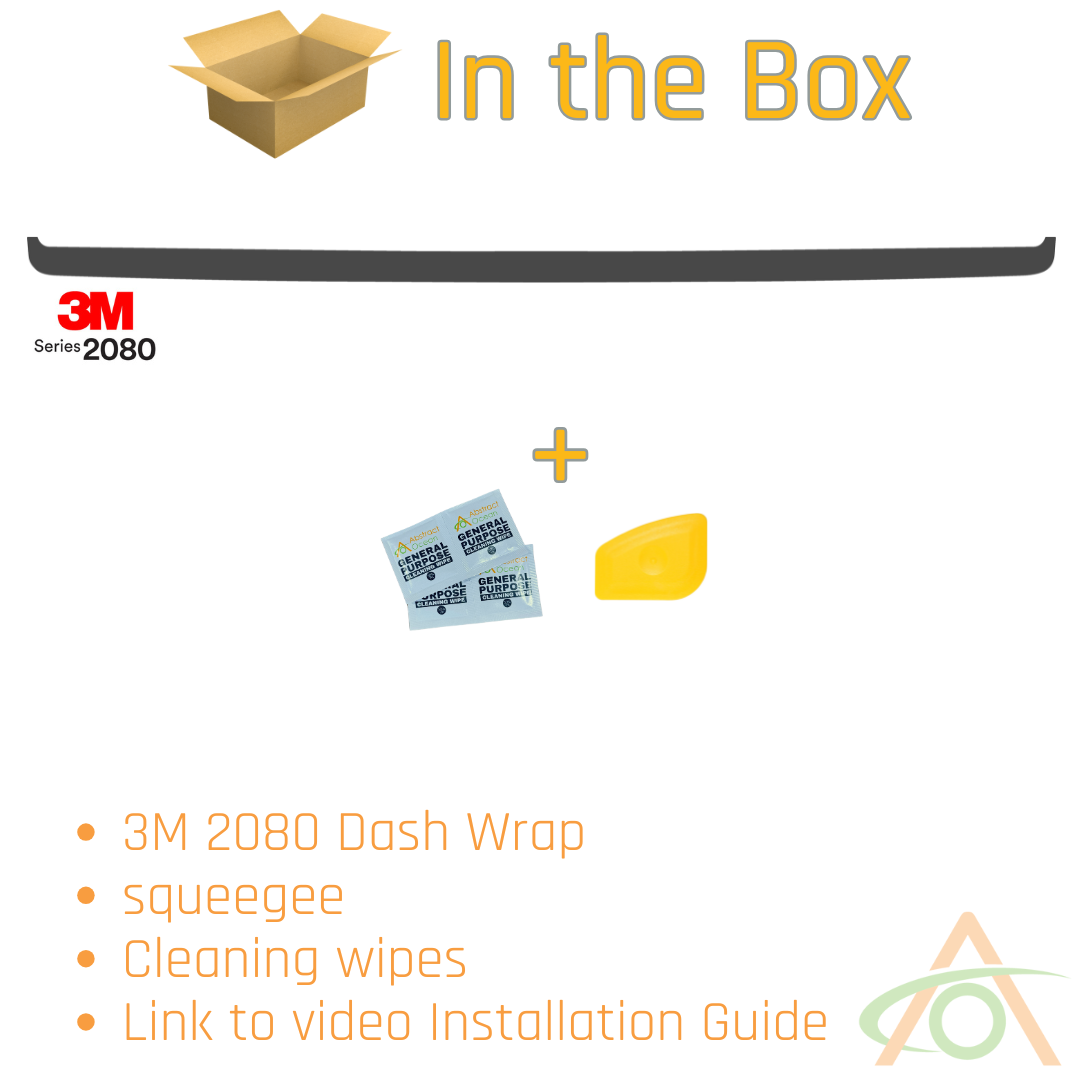
Funny how a long strip of vinyl can instantly change the appearance of your Tesla. Just like that, you can liven up the appearance! Please watch the video below:
Installing the dash wrap
- Keep the vinyl cool before and during the install. Cool vinyl is less tacky and stretches less. Running the car's AC over the dash helps if you are somewhere warm.
- Clean the dash strip thoroughly with the supplied cleaning wipes. Dust collects along this strip, so remove every speck. Textured finishes like carbon fiber and matrix black hide small imperfections better than satin finishes, which need more care.
- Make sure your hands are clean.
- Start at the driver's side end of the strip. Peel back about 6–8 inches of the backing paper.
- Tuck that end into the corner. The dash strip has a small rolled-over edge; feed the vinyl into the gap at that edge and wrap it around into the corner. Run the vinyl slightly further into the corner than looks necessary — the excess pulls in and hugs the corner once it is tucked.
- Squeegee this end down to set your anchor point.
- Work along the dash a little at a time, peeling the backing as you go. Steer the vinyl with one hand and press it down with the other.
- Concentrate on tacking down the front edge, where the strip rolls under. Once that edge is caught, the rest of the vinyl falls into place. Take your time around the steering wheel and behind the center screen.
- Squeegee as you go and work all the air out. Listen for crackling — that means trapped air. The 3M vinyl has air release channels in the adhesive, so you can usually push a bubble out to the nearest edge.
- When you can no longer reach comfortably past the steering wheel, move to the passenger side and continue from that end using the same method.
- If you need to reposition, peel the vinyl back and lay it down again. If it creases badly or sticks to itself, lay it out as flat as you can and apply heat to reset it flat, then continue.
- Peel off the remaining backing paper and finish the last section. There will look like too much material at the end — that is correct.
- Set the front edge in properly, then tuck the excess into the corner the same way you did at the first end.
- Squeegee the whole strip again, working out any remaining air.
- Run your finger along the back edge. It should sit almost flush with the back edge of the metal. If any vinyl overlaps at the back, roll it over with your fingers.