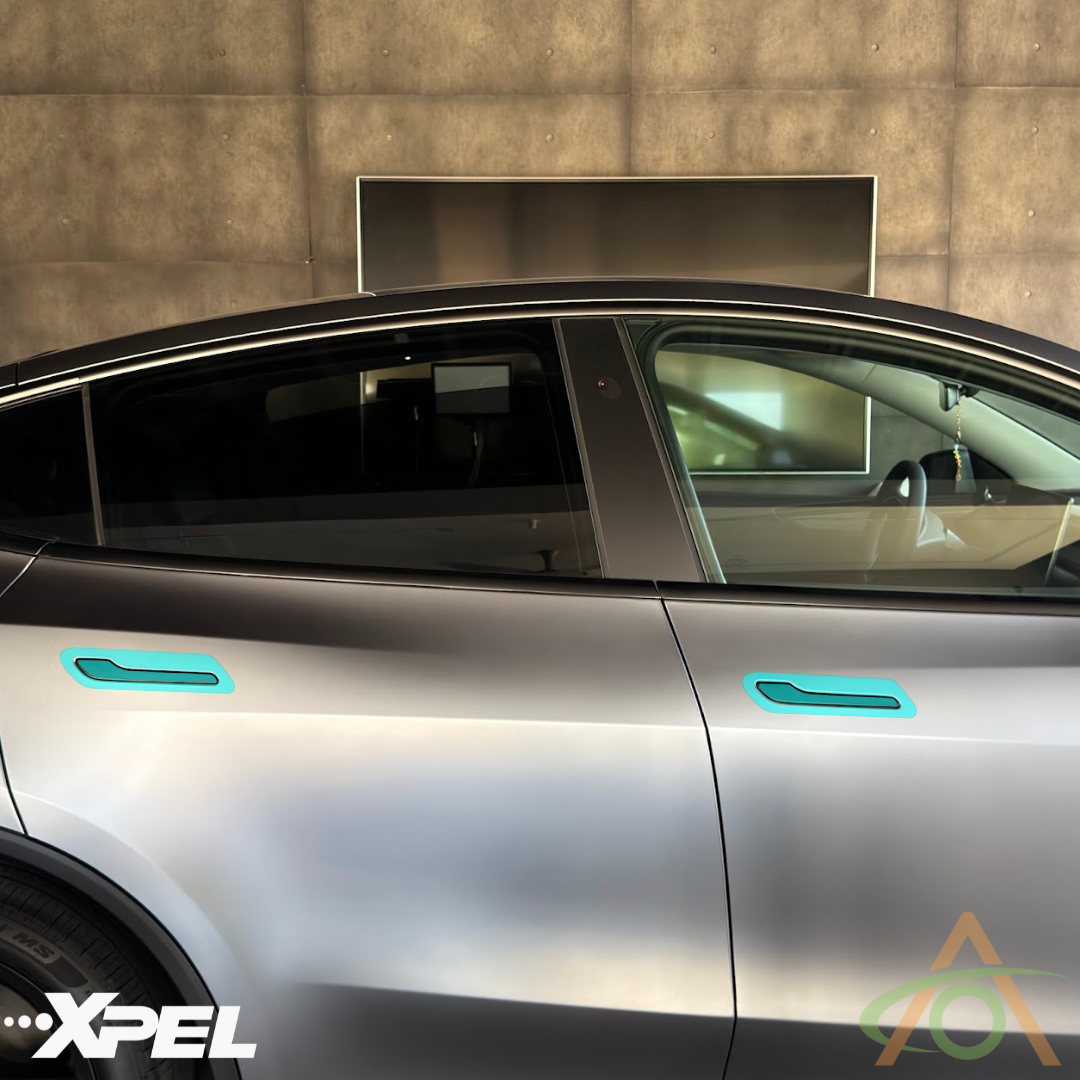
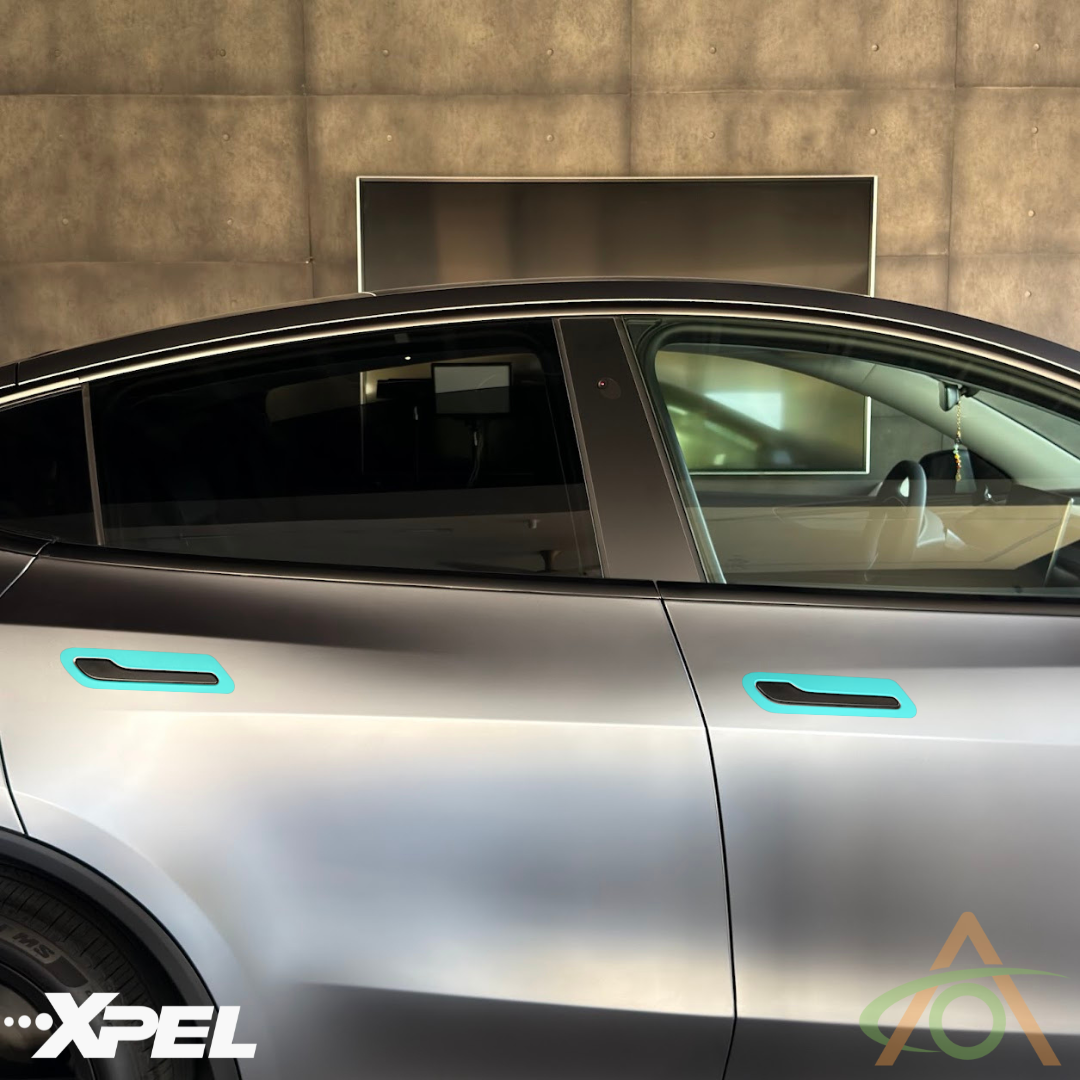
Please refer to the quick video below.

Installing the PPF Door Handle Surrounds
Tip: install in temperate conditions, between 60°F and 80°F (16°C and 27°C).
- Prepare the soap solution supplied with the kit by adding water.
- Make sure the handle and the paint around it are clean.
- Spray the handle area with the soap solution. Spray your fingers as well so you don't mark the adhesive.
- If you are fitting the optional handle pieces, start with those. Peel the PPF piece off its backing and spray the adhesive side.
- Lay the piece onto the handle and line it up. You want just enough slip to position it, not so much that it slides around — these are small pieces.
- Hold one end with your thumb and squeegee from the center outward to push the fluid out from under the film. Work both ends.
- Wipe the piece over with a cloth and check it in the light. Look for any fluid still trapped underneath and squeegee it out if you find some.
- Move on to the surround. Spray the paint around the handle, your fingers, and the piece itself.
- Peel the surround off its backing slowly. It is a long, thin piece with a cut-out in the middle, so take your time and don't stretch it.
- Place the surround on the car and line it up around the whole perimeter. It should sit in place naturally.
- If you see ripples, the piece has a bend in it. Nudge it straight until the ripples disappear.
- Spray the top of the film once more, then squeegee it down fully.
- Dry it off with a cloth and check it in different lights to confirm nothing is trapped underneath.
- Repeat for the remaining handles.
The film takes another couple of days to dry out completely. Once you can see nothing trapped underneath, you can leave the car outside and go about your business. In bad or cold weather, give it a day or so to fully settle and seat itself.