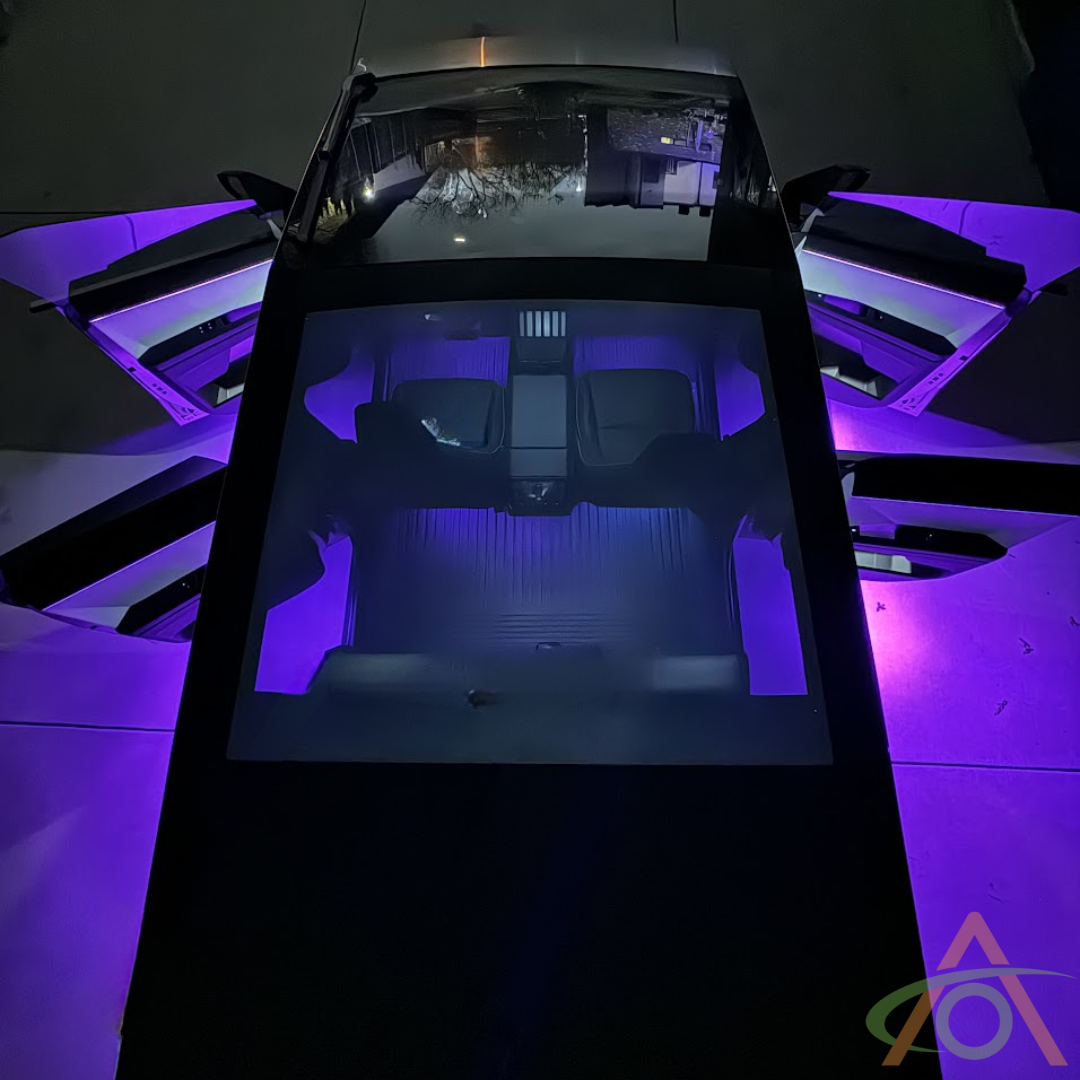
Please watch the video below to see how to install lights in each of the locations on your Cybertruck.
Installing Ultrabright Lights in the Cybertruck
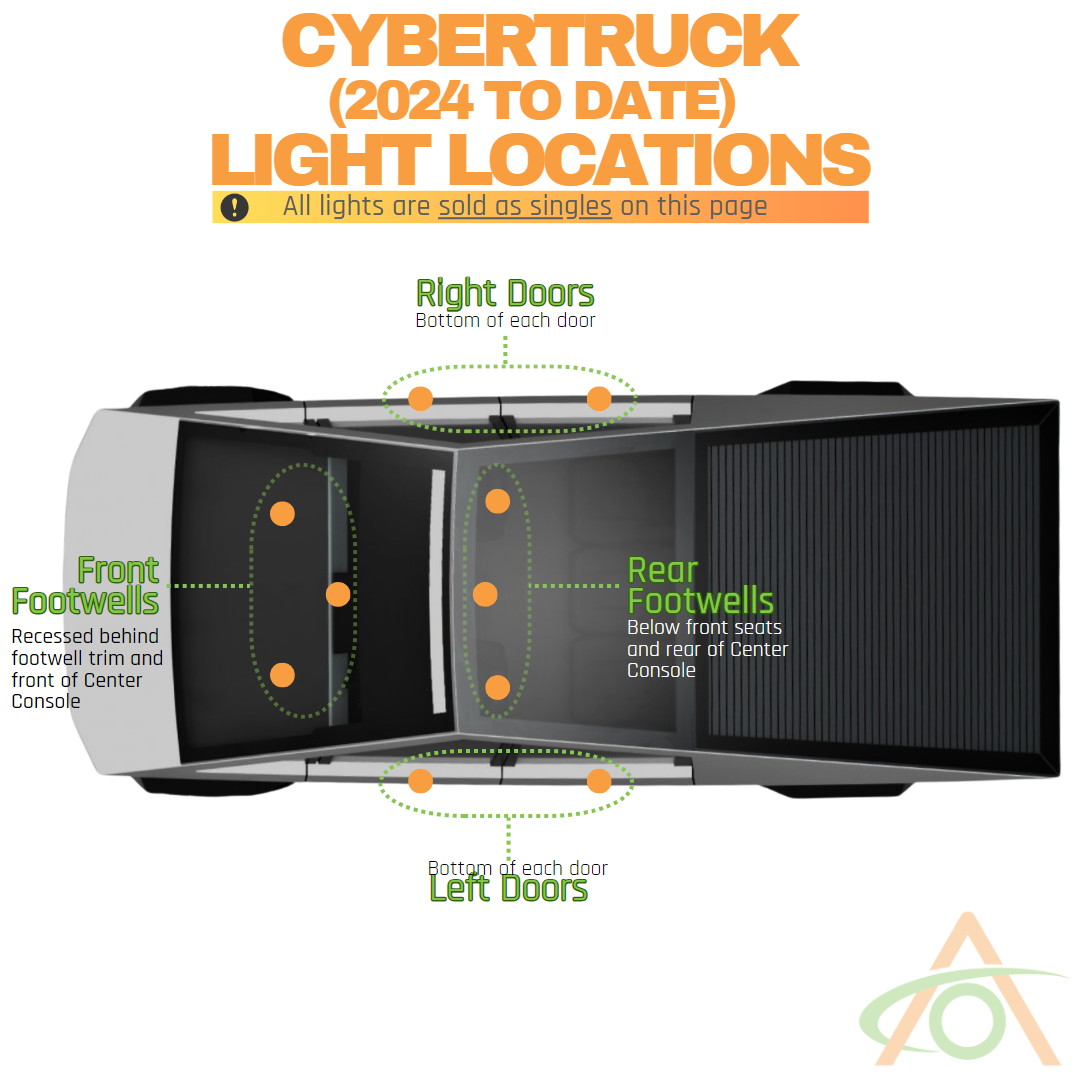
There are 10 light locations in the Cybertruck. Five need no trim removed: the four doors and the center of the rear passenger footwell. The other five are behind trim. Allow about an hour to an hour and a half for all 10, or 30–45 minutes for the five easy locations.
Before you start
- The Cybertruck bulbs are specific to this vehicle. The truck runs a 48V subsystem that steps down to a 16V subsystem, so bulbs bought for other Teslas will not work in these locations. Puddle lights are not currently available for the Cybertruck.
- Use a trim removal tool or spudger to pry the bulbs out. If you use a flat blade screwdriver instead, wrap the tip or cover the trim with a cloth or a couple of layers of masking or painter's tape.
- The interior lights time out on their own after a while. If they go out partway through, close the doors and open them again to wake the lights.
- If a new bulb does not light up, leave the truck to sleep overnight. The soft fuses reset, and the light will work in the morning.
Front and rear doors
- Slide the spudger under the edge of the factory light and pry it gently out of its opening. If you can't get leverage under the bottom edge, work along the side of the light and pry from there instead.
- Be patient. The door lights are a tight fit. Each bulb is held by two clips or teeth, one on each side, and these have to be depressed for the bulb to release.
- Watch the supply cable as the light comes out. Some cables are longer than others, so don't let a short one disappear back up into the recess.
- Release the connector by pushing down on the clip with your thumb, then sliding the connector off.
- Slide the connector onto the new bulb until it is fully seated.
- Push the new light back into the opening until it is all the way home and flush. If it stands proud, it will catch when you close the door.
- Repeat for the remaining doors. All four are the same.
Center of the rear passenger footwell
- Get the spudger behind the light and pry until it pops out. This housing is hard plastic and takes more effort than the doors.
- Push in the connector clip and release it from the bulb.
- Fit the connector to the new light and push the light back into place.
Front footwells (both sides)
Both front footwell lights sit behind the long trim piece that runs the width of the cabin under the dash.
- Start at one end and work a trim tool behind the trim piece. You can also get your fingers in at various points to help it along.
- Work across the middle. The center section is held by magnets and a Velcro strip, and there are clips at each end.
- Free the last clip at the far end. The trim will then hang down.
- A fabric strap is bolted to the trim to hold it in place. You do not need to remove it — letting the trim hang is enough. If you can't reach the lights, undo the single bolt through the strap and set the trim aside. It is long and fragile, so handle it carefully.
- Reach up to the light in the driver's footwell and pry it out of its clip. If there is no room to get at it from the front, push it out from behind by pressing the two side clips. Behind the trim you can use a flat blade screwdriver if you need to.
- Disconnect the connector, fit it to the new bulb, and push the light back into its clip.
- Repeat on the passenger side. Get behind the light, give it a twist to release it, pop the plug out, fit the new bulb and push it back home.
Refitting the trim
- Note the layout before you refit: three magnets in the middle, a Velcro strip that sticks up underneath the top of the center console opening, and five clips in total.
- Start at the driver's side so you can navigate around the pedals, working around the brake pedal.
- If you removed the fabric strap, reattach it now.
- Push the trim up into place. It will find its position easily. Listen for the magnets snapping in at the center.
- Work along the trim clipping each end and the remaining clips home, counting the five clicks as they seat.
Under-seat lights (both front seats)
These light the rear footwells. The light is too recessed to pry out in place, so the plastic housing under the seat has to be opened.
- At the front of the housing, pop the two clips out. They are held by friction only.
- Release the other end. Reach through the side of the seat to get to the trim piece. Take care not to put any stress on the cable at this end.
- Fold the rear section of the housing back so you can reach the light. It takes some maneuvering to get it open.
- Unplug the connector from the factory light to give yourself more slack.
- Release the light. If you can't work it free by hand, use snips to cut away the retaining pegs on the sides of the factory light. It comes straight out once those are gone.
- Pull the cable through with your fingertips and plug in the new light. Don't be concerned if it doesn't come on — the interior lights may have timed out.
- Clip the new light into place and maneuver the housing back together. The plastic lip sits on top of the metal frame, so seat that first, then push in one side, then the side where the cable clips in.
- Repeat under the other front seat. Both are the same.
Center console light
- Work a non-metal trim tool between the trim pieces to release the front center console panel. Don't use anything metal here — metal will win against the plastic.
- Work your way around the panel, freeing the clips, then lay the panel down.
- Pry the light out. It is held in tight.
- Unclip the connector, fit the new bulb, and snap it back into place.
- Before closing up, close the doors and reopen them to bring the lights back on, and check the new bulb works.
- Refit the panel. The clips are arranged with three down one side, two at the top, and the same pattern mirrored on the other side. Line it up and push hard — these clips need real pressure to seat.
- Seat the two clips at the top first, or the panel will deform, then push the remaining clips home. You may or may not hear them click.