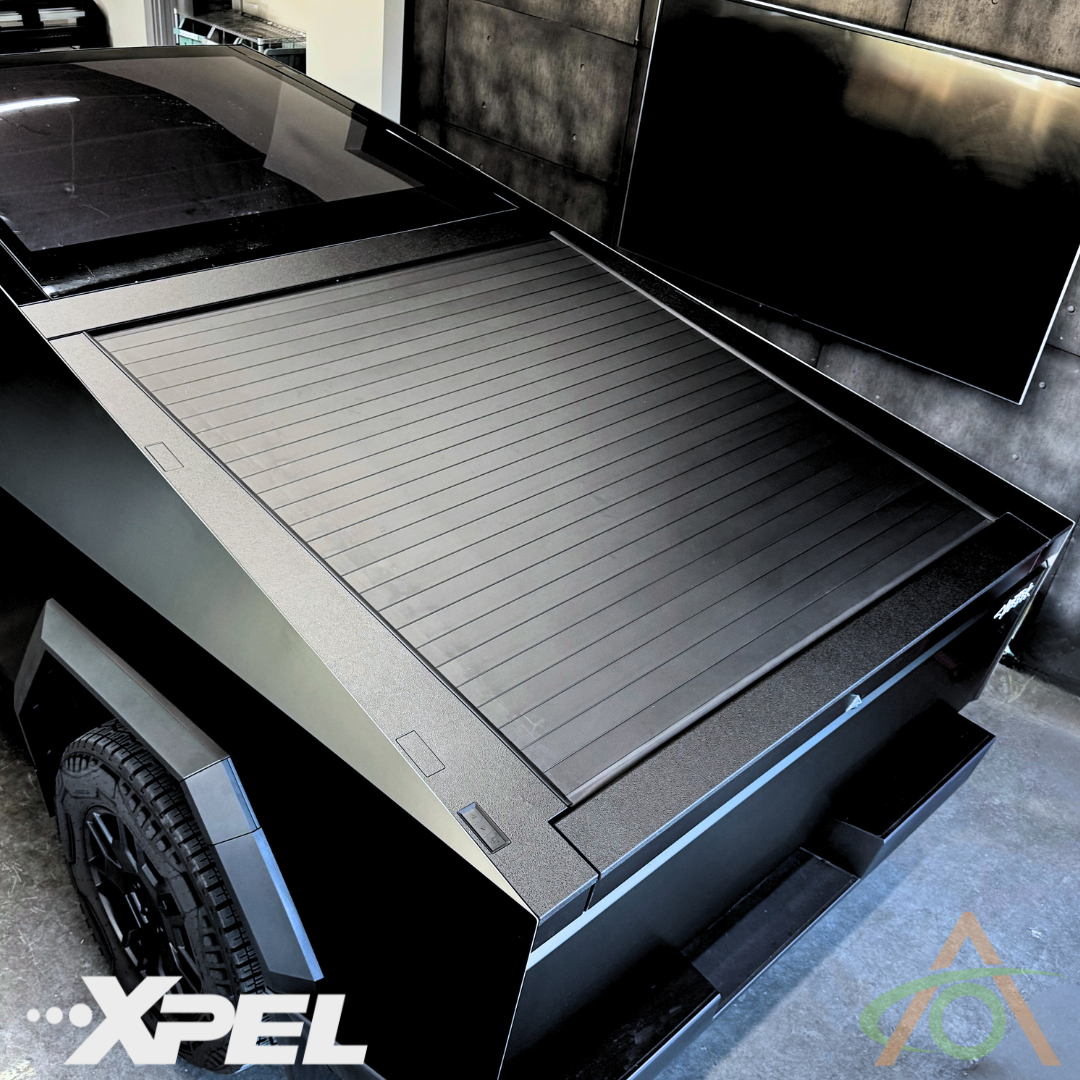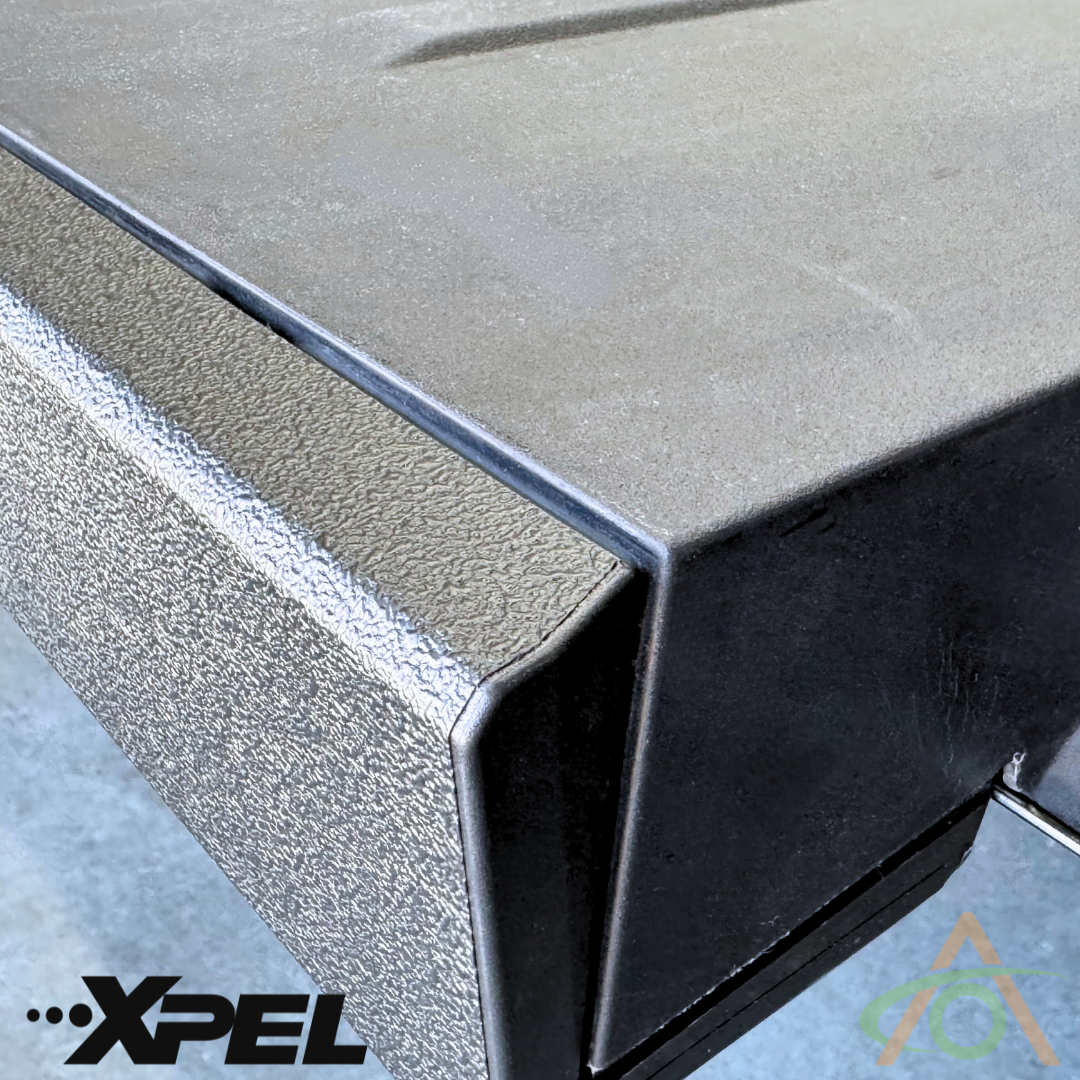


Please watch the videos below.
If the Armor is curled after shipping, just lay it out flat(ish) for a few minutes and it'll soon flatten out. As with all of the Armor kits (and especially kits like this with longer pieces), please be sure to watch the video for important installation tips, including installing when it's relatively warm and/or sunny - it'll make the install far easier.
Bellow follows an AI-generated step-by-step instructions.
Step 1: Prepare the Installation Area
-
Install when warm or sunny: The Armor material handles very differently when it's warm (70-85f) and or sunny. Always try to install in those conditions, as it makes stretching the material to fit the area much easier. Refer to this video for more details on how to stretch the material.
Clean the trim: Thoroughly clean the areas where the trim pieces will be installed with isopropyl alcohol or a mild soap solution. This removes any waxes or oils that may interfere with adhesion. Allow to dry before moving on. - Inspect the trim: Examine the trim pieces to ensure they are free of any defects or damage.
Step 2: Install Side Trim Pieces
-
Start with the left side:
- Align the bottom edge of the left side trim piece with the bottom edge of the truck bed trim, ensuring it's just inside the radius of the corner.
- Peel back a small section of the backing and adhere the trim to the truck bed.
- Continue peeling back the backing in small increments, using the squeegee to smooth out any air bubbles and ensure a secure bond. Stretch it into place by gently pulling on the end you're working with, at the same time limiting contact with the adhesive backing.
- Carefully align the trim around the cutouts for the crossbars and the control panel.
- Repeat the process for the remaining sections of the left side trim.
-
Install the right side trim:
- Follow the same steps as for the left side trim, aligning the edges and using the squeegee to remove air bubbles.
Step 3: Install Top Trim Piece
- Access the truck bed: Enter the truck bed.
- Align the top trim piece: Align the top edge of the trim piece with the top edge of the truck bed trim, ensuring it's just inside the radius of the corner.
- Peel back the backing: Peel back a small section of the backing and adhere the trim to the truck bed. As before, apply a gentle stretch to achieve a perfect fit.
- Smooth out air bubbles: Use the squeegee to smooth out any air bubbles and ensure a secure bond.
- Continue installation: Peel back the backing in small increments, using the squeegee to adhere the trim to the truck bed.
- Roll the edges: Gently roll the edges of the trim with your palm to ensure a tight seal.
Step 4: Install the Tailgate Lip
- Peel and adhere: Partly peel off the backing from the lip section and firmly adhere to one end. Then pull into place, squeegeeing as you go.
- Smooth out air bubbles: If you spot any air bubble, peel that section back to the nearest edge and use the squeegee to smooth out any air bubbles and ensure a secure bond.
Step 5: Final Checks
- Inspect for air bubbles: Carefully inspect the entire installation for any remaining air bubbles. If any are found, gently peel back the affected area and re-adhere it.
- Check for alignment: Ensure all trim pieces are properly aligned and there are no gaps or overlaps.
- Check for adhesion: Gently press on the trim pieces to ensure they are securely adhered to the truck bed.
Tips and Troubleshooting:
- Work in a clean environment: Minimize dust and debris to prevent particles from getting trapped under the trim.
- Take your time: This is a meticulous process. Don't rush it.
- Install when warm and/or sunny.
- If you encounter difficulties: If you have trouble with alignment or adhesion, gently peel back the affected area and re-position it.
- Use a hair dryer: If the trim is difficult to work with due to cold temperatures, gently heat it with a hair dryer to make it more pliable.