Please refer to the quick video below.
Installing the Lightbar Vinyl Decal
Watch the video for positioning. The exact placement is much easier to see than to describe, so watch it before you start.
- Turn on the parking lights so the light bar is lit, and set the suspension to High. Nothing needs to be removed from the truck.
- Clean the full length of the light bar so the surface is completely free of dirt and adhesive residue.
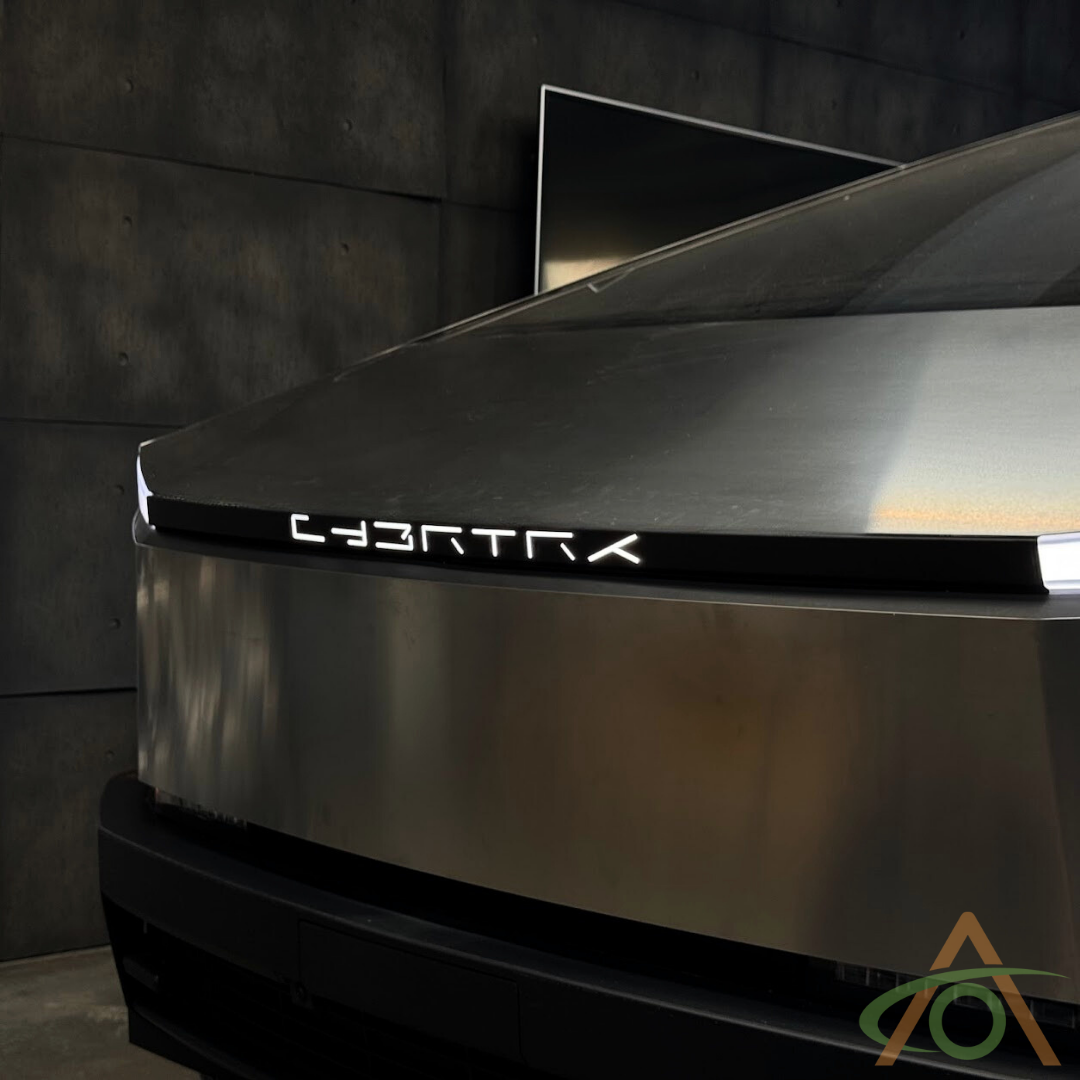
- Look at each end of the decal. There is a small cutout about 5 mm down from the top edge. That cutout aligns with the edge of the stainless steel above the light bar, so you can see the steel edge through the gap. You hold that same spacing along the whole length.
- Optional: with a Sharpie, mark a few rough dots along the light bar about 5 mm below the steel edge to use as an alignment guide.
- Start at the left end. Peel back about 8–10 inches of the backing.
- Get down low so you can see the crease in the light and the edge of the steel behind the decal. Position the end of the decal so the cutout lines up with the steel edge, then tack it lightly in place. Do not apply pressure yet.
- Work along the light bar, peeling the backing as you go and tacking the decal down lightly. Check the alignment against your guide marks as you move across, and lift and reposition any section that drifts.
- With the whole decal loosely in place, start in the middle and press it down with your fingertips, working left and then right. If you get a bubble or crease, peel back from that side and re-lay it.
- Once the flat front face is bubble-free, go over it again with more pressure to finalize it. Press only the front face at this stage — the top and bottom edges stay loose.
- Remove the carrier sheet. Pull it back slowly at a very sharp angle so it does not lift the vinyl. If a piece of vinyl starts to lift, push it back down and rub it with your thumb, then continue.
- Run your thumb along the top edge to set a light crease where the vinyl goes over the edge, then do the same along the bottom edge. Check that the visible face has no creases.
- Top edge: peel the vinyl away from the stainless steel so it is not stuck to it, then use the hard (non-felt) edge of the squeegee to tuck the vinyl in behind the edge. The vinyl will try to fold back on itself — keep working it with the squeegee. Repeat along the full length.
- Check at eye level that no light is leaking along the top edge.
- Bottom edge: use your thumb to help the vinyl roll under, and keep it from sticking to the plastic piece below the light.
- Switch to the felt side of the squeegee. Start in the middle and push the vinyl back and up against the underside of the light, working outward.
- Work along the bottom edge again, pushing the squeegee in and giving it a small wiggle. This eases the plastic piece away slightly so any vinyl sitting over its edge gets tucked behind it instead.
- Run your finger along the lower face of the light to find any remaining bubbles, and press them out with the felt side of the squeegee.