Please refer to the quick video below for how to install. As always, try to install when the temperature is in the 60-80f/16-27c range.
Installing the Door Entry Protection Film
Tip: Install PPF in temperate conditions, between 60°F and 80°F (16°C and 27°C).
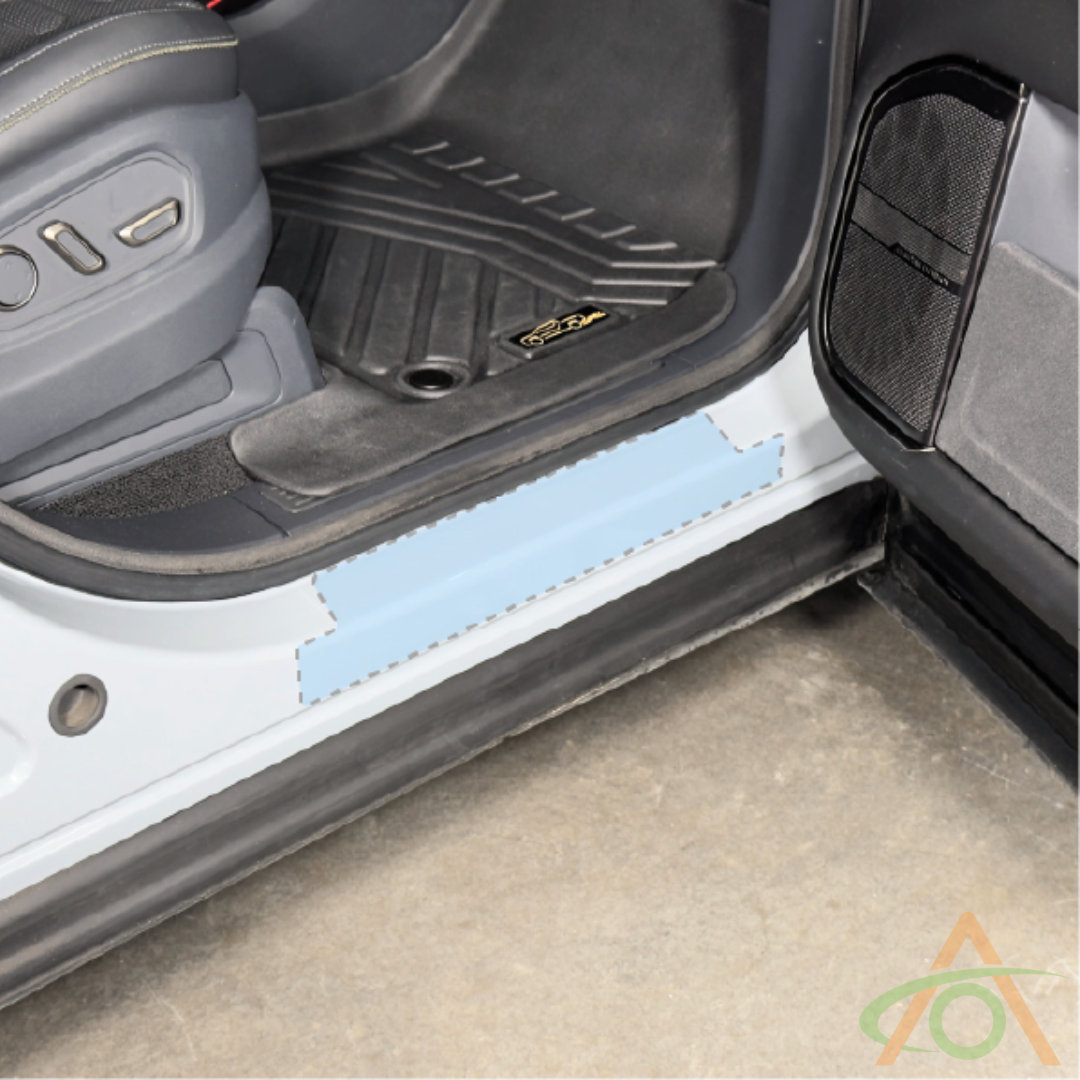
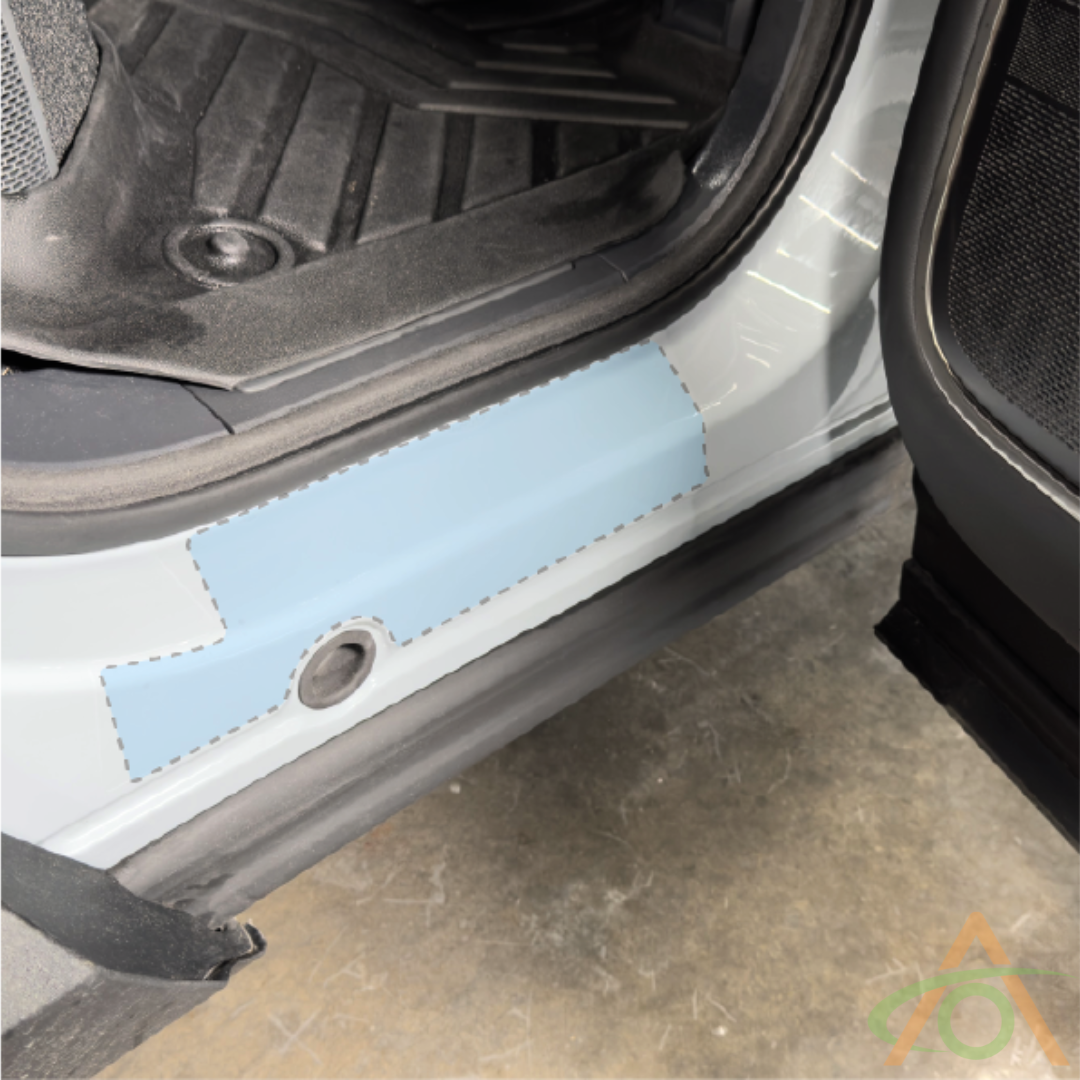
- Identify your pieces before you start. The two front pieces are identical. The two rear pieces are mirrored and each has a cutout that wraps around the door restraint lug.
- Mix the soap solution. The bottle already contains the concentrate, so just add water.
- Clean the application area. Use isopropyl alcohol spray, or the soap solution, and wipe it down with a shop rag. Make sure no dust is left on the surface.
- Spray the door sill area generously with the soap solution.
- Peel the backing off the film slowly so the film does not stretch. Spray the adhesive side with soap solution as you peel.
- Float the film onto the sill. Align the top edge of the film so it sits directly against the underside of the weather seal trim — the top of the film is the same width as that trim piece. This keeps the film off the curved section.
- Check the bottom edge. With the top aligned correctly, you should have a 3–5 mm gap between the film and the indented body line. Keep the film out of that indent so it does not become a dust trap.
- Squeegee the top edge first to push out most of the fluid. The film will still slide slightly, so make any final alignment adjustments now.
- Once the top edge is set, squeegee the film down and over the lower edge, working the extended bottom section into place.
- If the film starts to lift or bubble, peel it back, spray again with the soap solution, and lay it back down.
- Wipe the finished piece with a shop rag.
- Repeat on the other front door.
- For each rear door, clean the area the same way, then peel the backing and spray as before.
- Place the rear piece roughly in position and align the cutout around the door restraint lug. That alignment comes first.
- Keep an even gap along the bottom where the bodywork rolls into the indent, as on the front doors.
- Squeegee the top edge. A bubble will form at the turn in the panel — leave it for now.
- Lift the lower section, then work the film down and around the turn to remove the bubble and set the extended piece over the lower edge.
- Repeat on the other rear door.
- Leave the film 24 hours to fully adhere and for trapped moisture to evaporate.
Tips
- Install when the temperature is between 60–80°F (16–27°C).
- Work in a garage or indoors where possible to keep dust from getting trapped under the film.
- Allow around 15 minutes for all four doors.
- The R1S install method is the same, but uses a different kit.