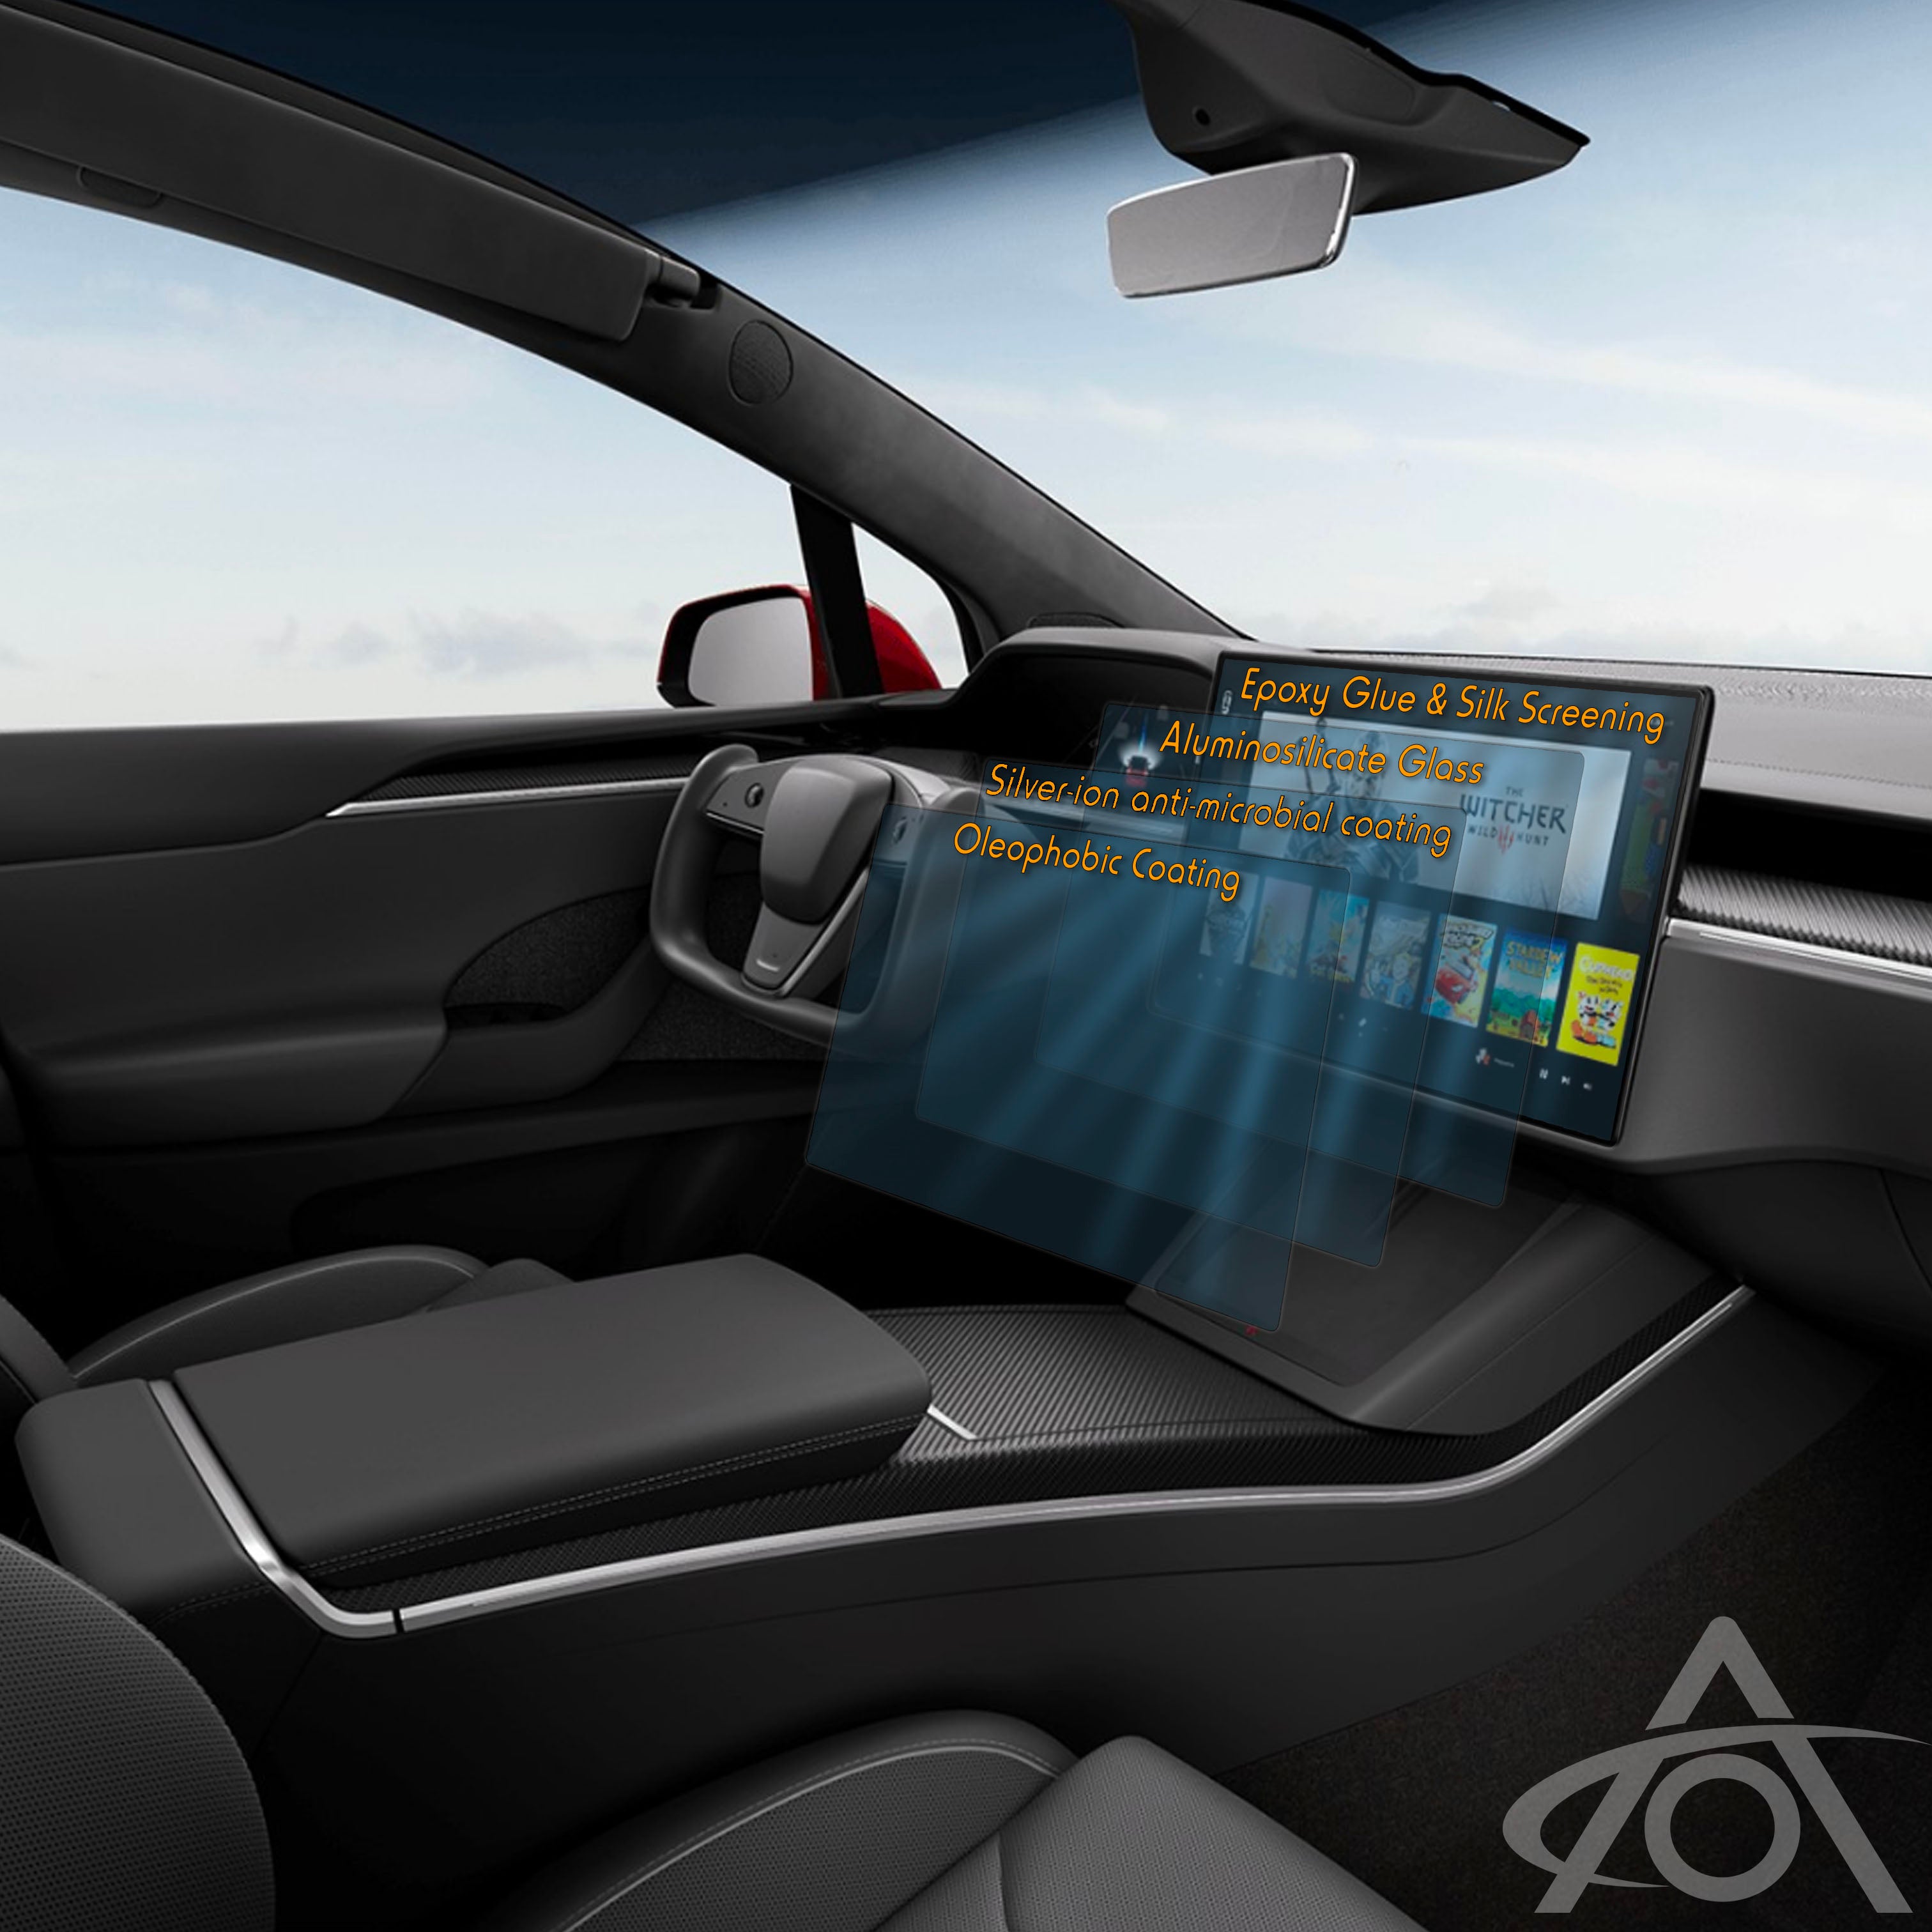
Please watch the video below, and, as always, dust is your enemy, so do all you can to prevent it!
Installing the screen protectors
Before you start
- Turn the climate control off. Any air movement in the cabin stirs up dust, and the rear screen has a vent right below it.
- Pick a time with good natural light so you can see dust on the screen, and a temperature you're comfortable sitting in with the air off.
- Wash your hands so you don't leave fingerprints or oil on the screen.
- Allow yourself 15–20 minutes and keep all your movements slow and deliberate.
- If your car still has the factory film on the screens, leave it in place until you're ready to install.
Front screen
- Center the display if your car has a screen that moves.
- Snap the installation guide into the gap between the screen and the surrounding trim. It's a snug fit and gives the screen protector a platform to land on.
- Take the front screen protector out of the packet and check the orientation: the thicker printed bezel goes across the bottom of the screen. Set it aside somewhere clean.
- Open one of the installation packs so the wet wipe, lint-free cloth and dust grabbers are ready to hand.
- Remove the factory film from the screen and set it aside.
- Put the display into screen cleaning mode.
- Wipe the whole screen with the wet wipe. This also helps kill static. If the screen has fingerprints, oil or other residue, go over it thoroughly.
- Polish the screen with the lint-free cloth. Take as long as you need at this stage.
- Look across the screen at an angle to check for any remaining dust. Lift off any specks by dabbing with a dust grabber — dab only, never drag, or you'll transfer adhesive to the screen.
- Pick up the screen protector by its edges and peel off the backing film.
- Check the screen one more time, then lower the protector onto the installation guide with the thicker bezel at the bottom, and let it rest down onto the screen.
- Drag your finger up the protector and let the adhesive spread across the screen.
- Unclip the installation guide and remove it once the protector is down.
- Work any remaining bubbles out to the edges with your finger. For more direct pressure, wrap the lint-free cloth around a credit card and use that.
- For a stubborn bubble near an edge, lift that edge of the protector, work the bubble out, then lay it back down.
- Exit screen cleaning mode.
If the screen behaves oddly straight after installation, it's usually alcohol from the wipe trapped under the protector. Give it a minute to evaporate. Rebooting the car will also clear it.
Rear screen
- Leave the climate control off — the vent is directly under this screen.
- Lock the screen.
- Remove the factory film if it's still fitted.
- Clean the screen with the wet wipe, then polish it with the lint-free cloth. Finish each stroke off the edge of the screen so any dust is carried away rather than left on the glass.
- Check the screen at an angle for dust and dab off anything you find with a dust grabber.
- Pick up the rear protector by its edges only, keeping your fingers off the adhesive side, and peel off the backing film.
- Slot the bottom edge of the protector into the vent mechanism below the screen. This acts as a built-in template.
- Check it's level and that the top edge just clears the top bezel, using your fingers at the sides to keep it even.
- Swipe upward to lay it down, then work the edges and any bubbles out with your fingers.
If you have a seven-seat Model X, kneeling in front of the rear screen makes it easier to stay centered on what you're doing.
The rear screen protector is now available in a narrow-bezel version that fits all versions of the rear screen.