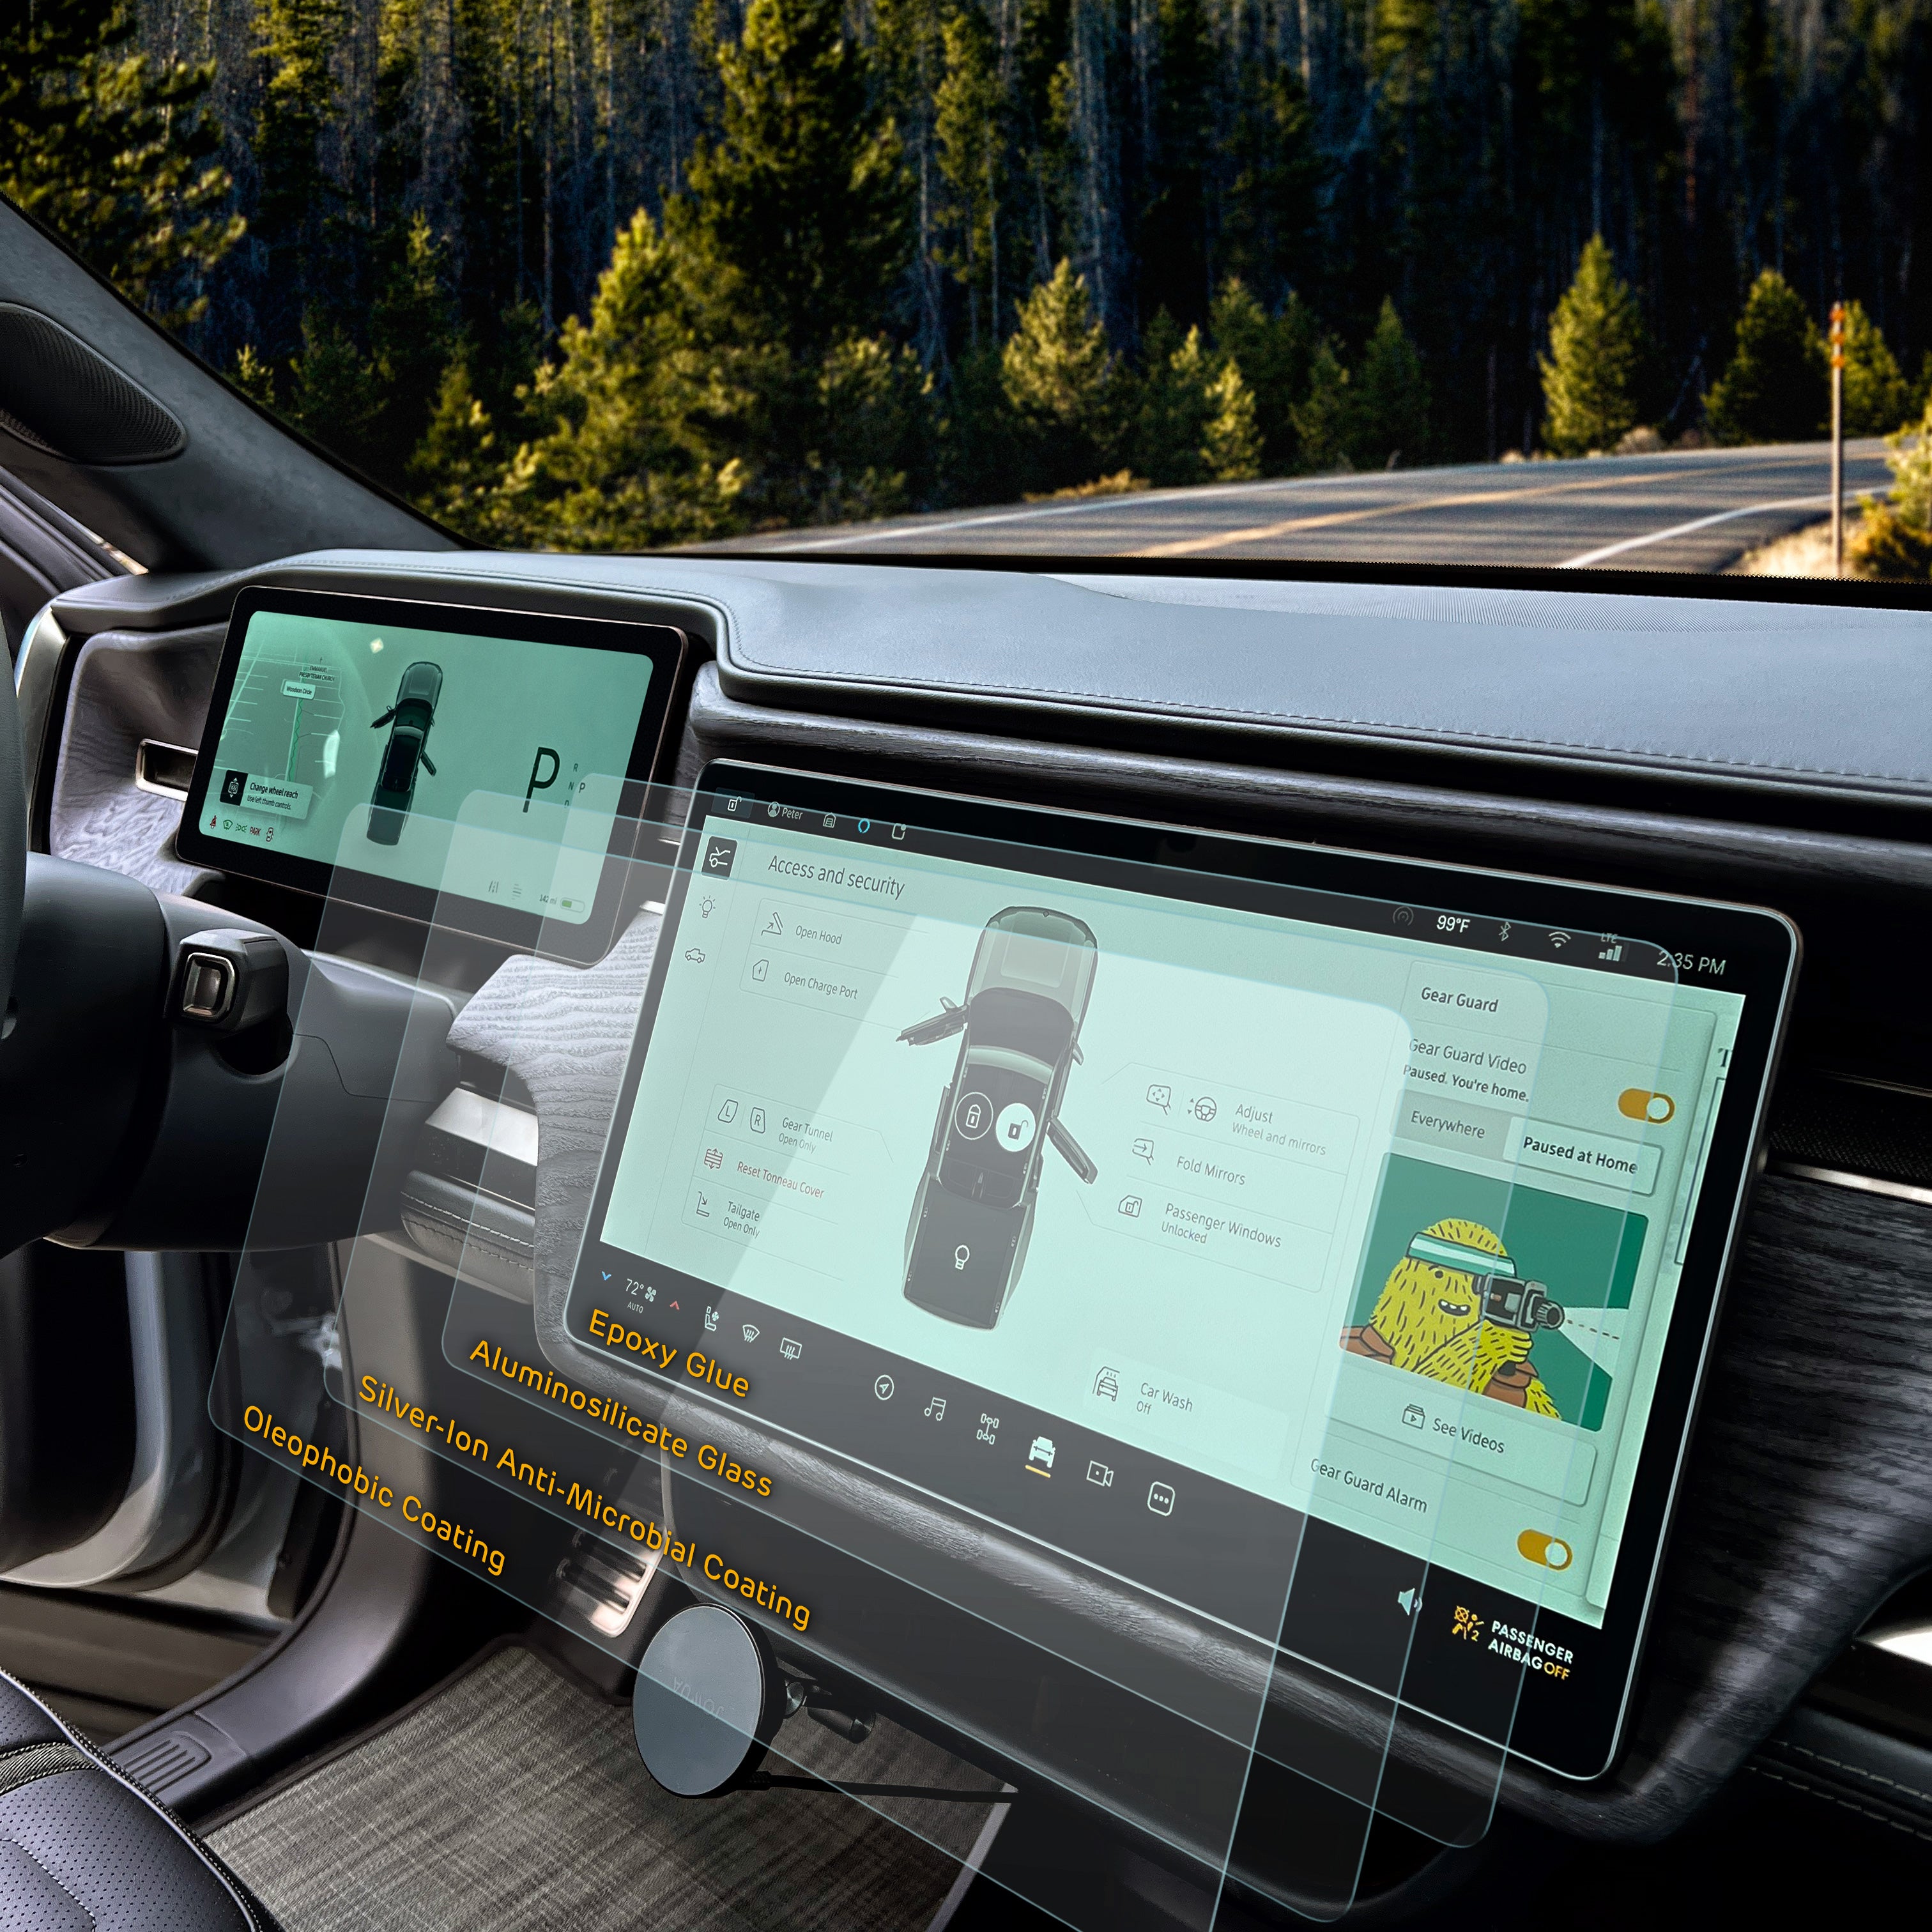
Please watch the video below, it's about 23mins long, so use the the chapter markers for navigation.
We'd be remiss if we didn't say one thing - watch out for the dust 👀!
Installing the screen protectors
Before you start
- Park the vehicle in direct sunlight if you can. Dust is far easier to see on the screens in the sun than in a garage.
- Turn off the AC so there is no air moving in the cabin. Dust under the glass is the main cause of installation problems.
- Wash your hands, or wear powder-free latex gloves.
- Handle each protector by its edges with your fingertips. Do not touch the adhesive side.
- Work slowly and deliberately. Quick movements stir up dust.
Center screen
- Bring up a screen that won't trigger anything if you press it. The owner's manual page works well.
- Wipe the screen with the wet wipe from the kit. This cleans the screen and reduces static. The alcohol flashes off in a few seconds.
- Turn the AC off now if you haven't already.
- Polish the screen with the dry microfiber cloth. If your touches are registering on the screen, fold the cloth over so it is doubled up.
- Take the protector out of its pack and wrapper. The label on the back sits in the top left corner, up by the lock icon.
- Dry fit the protector over the screen to get a feel for where it sits, then set it back down.
- Go over the screen with a dust grabber. Dab, don't drag — dragging leaves adhesive residue. Keep dabbing until you are confident the dust is gone.
- Pick the protector back up, peel the backing film off slowly, and lower the protector onto the screen. Let the adhesive spread across the screen on its own.
- Turn the AC back on.
- Check for bubbles. To clear one, lift the nearest corner back with a fingernail until the bubble releases, then let the glass lay back down.
- If you find a speck of dust underneath, lift that corner and lift the dust off with a dust grabber or a piece of Scotch tape, then lower the glass again. For dust in the middle of the screen, use Scotch tape to walk it out to the edge.
Driver display
- Clean the display with a fresh wet wipe. Wipe over the trim above the display as well to get dust out of the area.
- Polish with the microfiber cloth. Take care around the wooden trim — it snags cloth.
- Turn off the AC and airflow.
- Have a dust grabber ready. Take the protector out of both of its protective films, holding it by the fingertips and keeping it roughly vertical so dust doesn't settle on it.
- Dab the display with the dust grabber to pick up any remaining dust.
- Line the protector up with the top corners of the screen and lower it into place. The protector covers the screen only, not the copper bezel around it.
- Check the result for bubbles and clear any as described above.
Rear screen
- Clean the screen with a wet wipe. This is a touchscreen, so expect to activate things such as the seat heaters while you work.
- Polish with the microfiber cloth. This screen carries a lot of static.
- Unwrap the rear protector. The label is again in the top left corner. This piece has cutouts for the USB ports.
- Drop the bottom edge of the protector into the recess around the screen, using the USB openings to check your alignment, then tip the glass back and lower it onto the screen.
- Let the adhesive spread across, helping it along if needed.
- Go over the whole protector with the polishing cloth to apply even pressure all the way around.
Matte or clear
- Matte diffuses light rather than reflecting it in pinpoints, and hides fingerprints better. Its texture feels silky, similar to an e-reader screen. It softens the display very slightly, and in low sun it can wash out.
- Clear is glossy, keeps the display as sharp as the bare screen, and has more grip under your finger. It reflects light the same way the screen itself does.
If a protector gets damaged
Send us a photo of the damage and we'll send a free replacement.