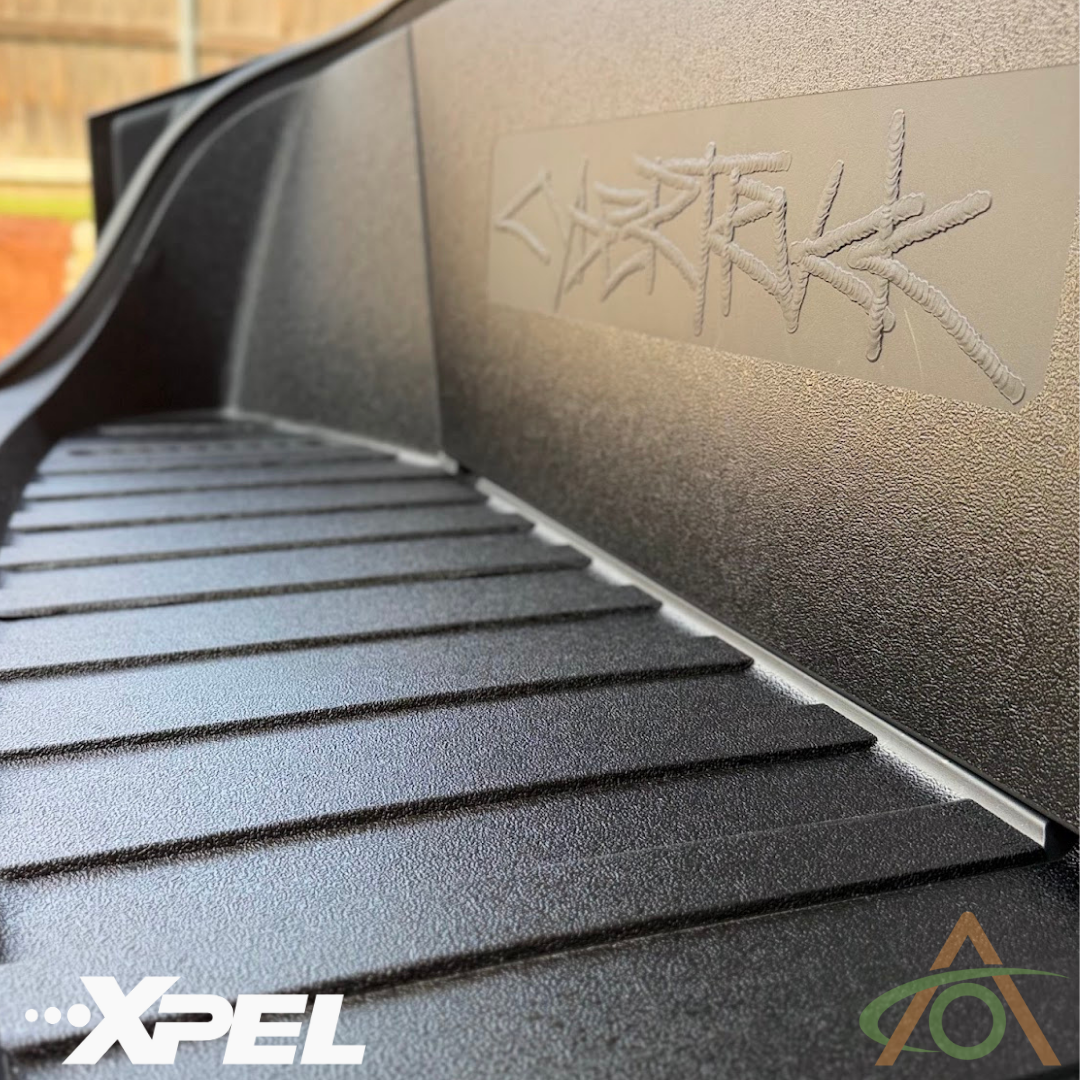
Please refer to the video below. You'll see at the end (24:36) that we show how to deal with any edges lifting, please pay attention to that; just parking in the sun with the frunk open, or using direct heat will ensure the edges stay stuck down.
Installing the Xpel Armor Frunk Kit
Before you start
- Use the printed instruction sheet included with the kit to identify each piece and where it goes.
- Clean the plastic with isopropyl alcohol or a mild soap solution (about 10% light dish soap). The goal is to remove any greasy residue from trim cleaner or off-gassing so the adhesive sticks.
- Make sure your hands are clean before you handle the film.
- This film is peel and stick, not traditional PPF. No heat is needed during installation.
Rear panel piece
- Pull the rear panel out of the frunk by hand. If it will not release, work a trim pry tool under the edge. You can apply the film with the panel in place, but removing it also gives you better access for the floor pieces later.
- Clean the panel.
- Peel back one end of the backing only, leaving the rest covered so the large piece stays manageable.
- Line up that edge first. Keep the film inside the edge where the panel rolls over, not wrapped over it. Check that it tracks straight across the top.
- Squeegee that section down to lock it in.
- Peel the backing back progressively, steering the film as you go and checking the top and bottom edges stay parallel, then squeegee the rest down.
- Run a finger along the edge. If you can feel the film over the edge, you are too close to it. Peel back and reposition.
- Leave the panel out for now.
Upright wall sections
- Clean the wall surfaces.
- Start on the side with the emergency exit button. The button gives you an alignment reference.
- For the back wall piece, place it so it lines across the top and into the corner, just below where the plastic curves.
- Once the top is positioned, let the film fall naturally down the wall and check it is tracking correctly before committing.
- Squeegee it down. If you trap a bubble, peel that area back and lay it again rather than forcing the bubble out.
- Check the alignment: the piece should follow the curve, sit evenly spaced from the floor, and be clean along the top and side edges.
- Fit the narrow piece that wraps around the button. Align it using the button and the top corner. Hold the wide part of the piece, not the narrow section behind the button, so you do not reduce the adhesion surface.
- Guide it down so it tucks in just below the existing frunk lip. If it sits too low or too far over, peel it back and try again. Do not stretch the narrow sections while peeling.
- Squeegee it down, releasing and relaying any trapped bubbles.
- Repeat on the other side. There is no button on that side, so align the top corner and use the natural symmetry of the edge, keeping the gap along the bottom even.
Floor sections
- Clean the floor, paying particular attention to the raised sections. The corners there have very little radius and the film wraps all the way over.
- Start with the center piece. Line its rounded end up with the end of the raised area.
- Peel the backing down the length of the raised section and lay the film, keeping it centered.
- Squeegee the flat top, then roll the film over the corners. Start the roll with your thumb, then work the rest down with your fingers. A rag helps here.
- Press firmly along the rolled edges so nothing lifts.
- Work outward from the center. For the channel pieces, slide the piece into the gap, lock the top end in, then pull it taut without stretching, keeping it dead center in the channel all the way down.
- Either side of the squeegee can be used.
- Continue through the remaining floor pieces, matching each shape to its location on the instruction sheet. The shapes are mirrored side to side and every one is different, so confirm each piece before you peel it.
Corner and side sections
- If you do not have an L-track or OEM cargo net accessory, pop the factory blanking plate out with a trim tool, apply the piece for that area plus the small finishing piece that sits alongside it, then snap the plate back in.
- If you do have the L-track accessory fitted, the panel itself is not wrapped. Apply the two pieces either side of it instead. These are the same as the opposite side except the inner edge is a hard edge with nothing to roll over, so simply track the film along the edge of the L-track mount.
- For the awkward corner piece, use the squeegee to float the piece into position, lining up the edge where it meets the adjacent piece, then press it down with your fingers.
- Snap the rear panel back into place.
Edges that lift
- Go back over all the rolled edges and press down anything that has lifted. Working the squeegee over the edge generates a little heat and helps it stay put.
- If edges keep lifting, park the truck in the sun with the frunk open to warm the film, then press the edges down again. The adhesive will be much tackier.
- If you are not somewhere warm or sunny, use a hair dryer or a heat gun on a low setting to soften the film and reactivate the adhesive, then push the edge down.