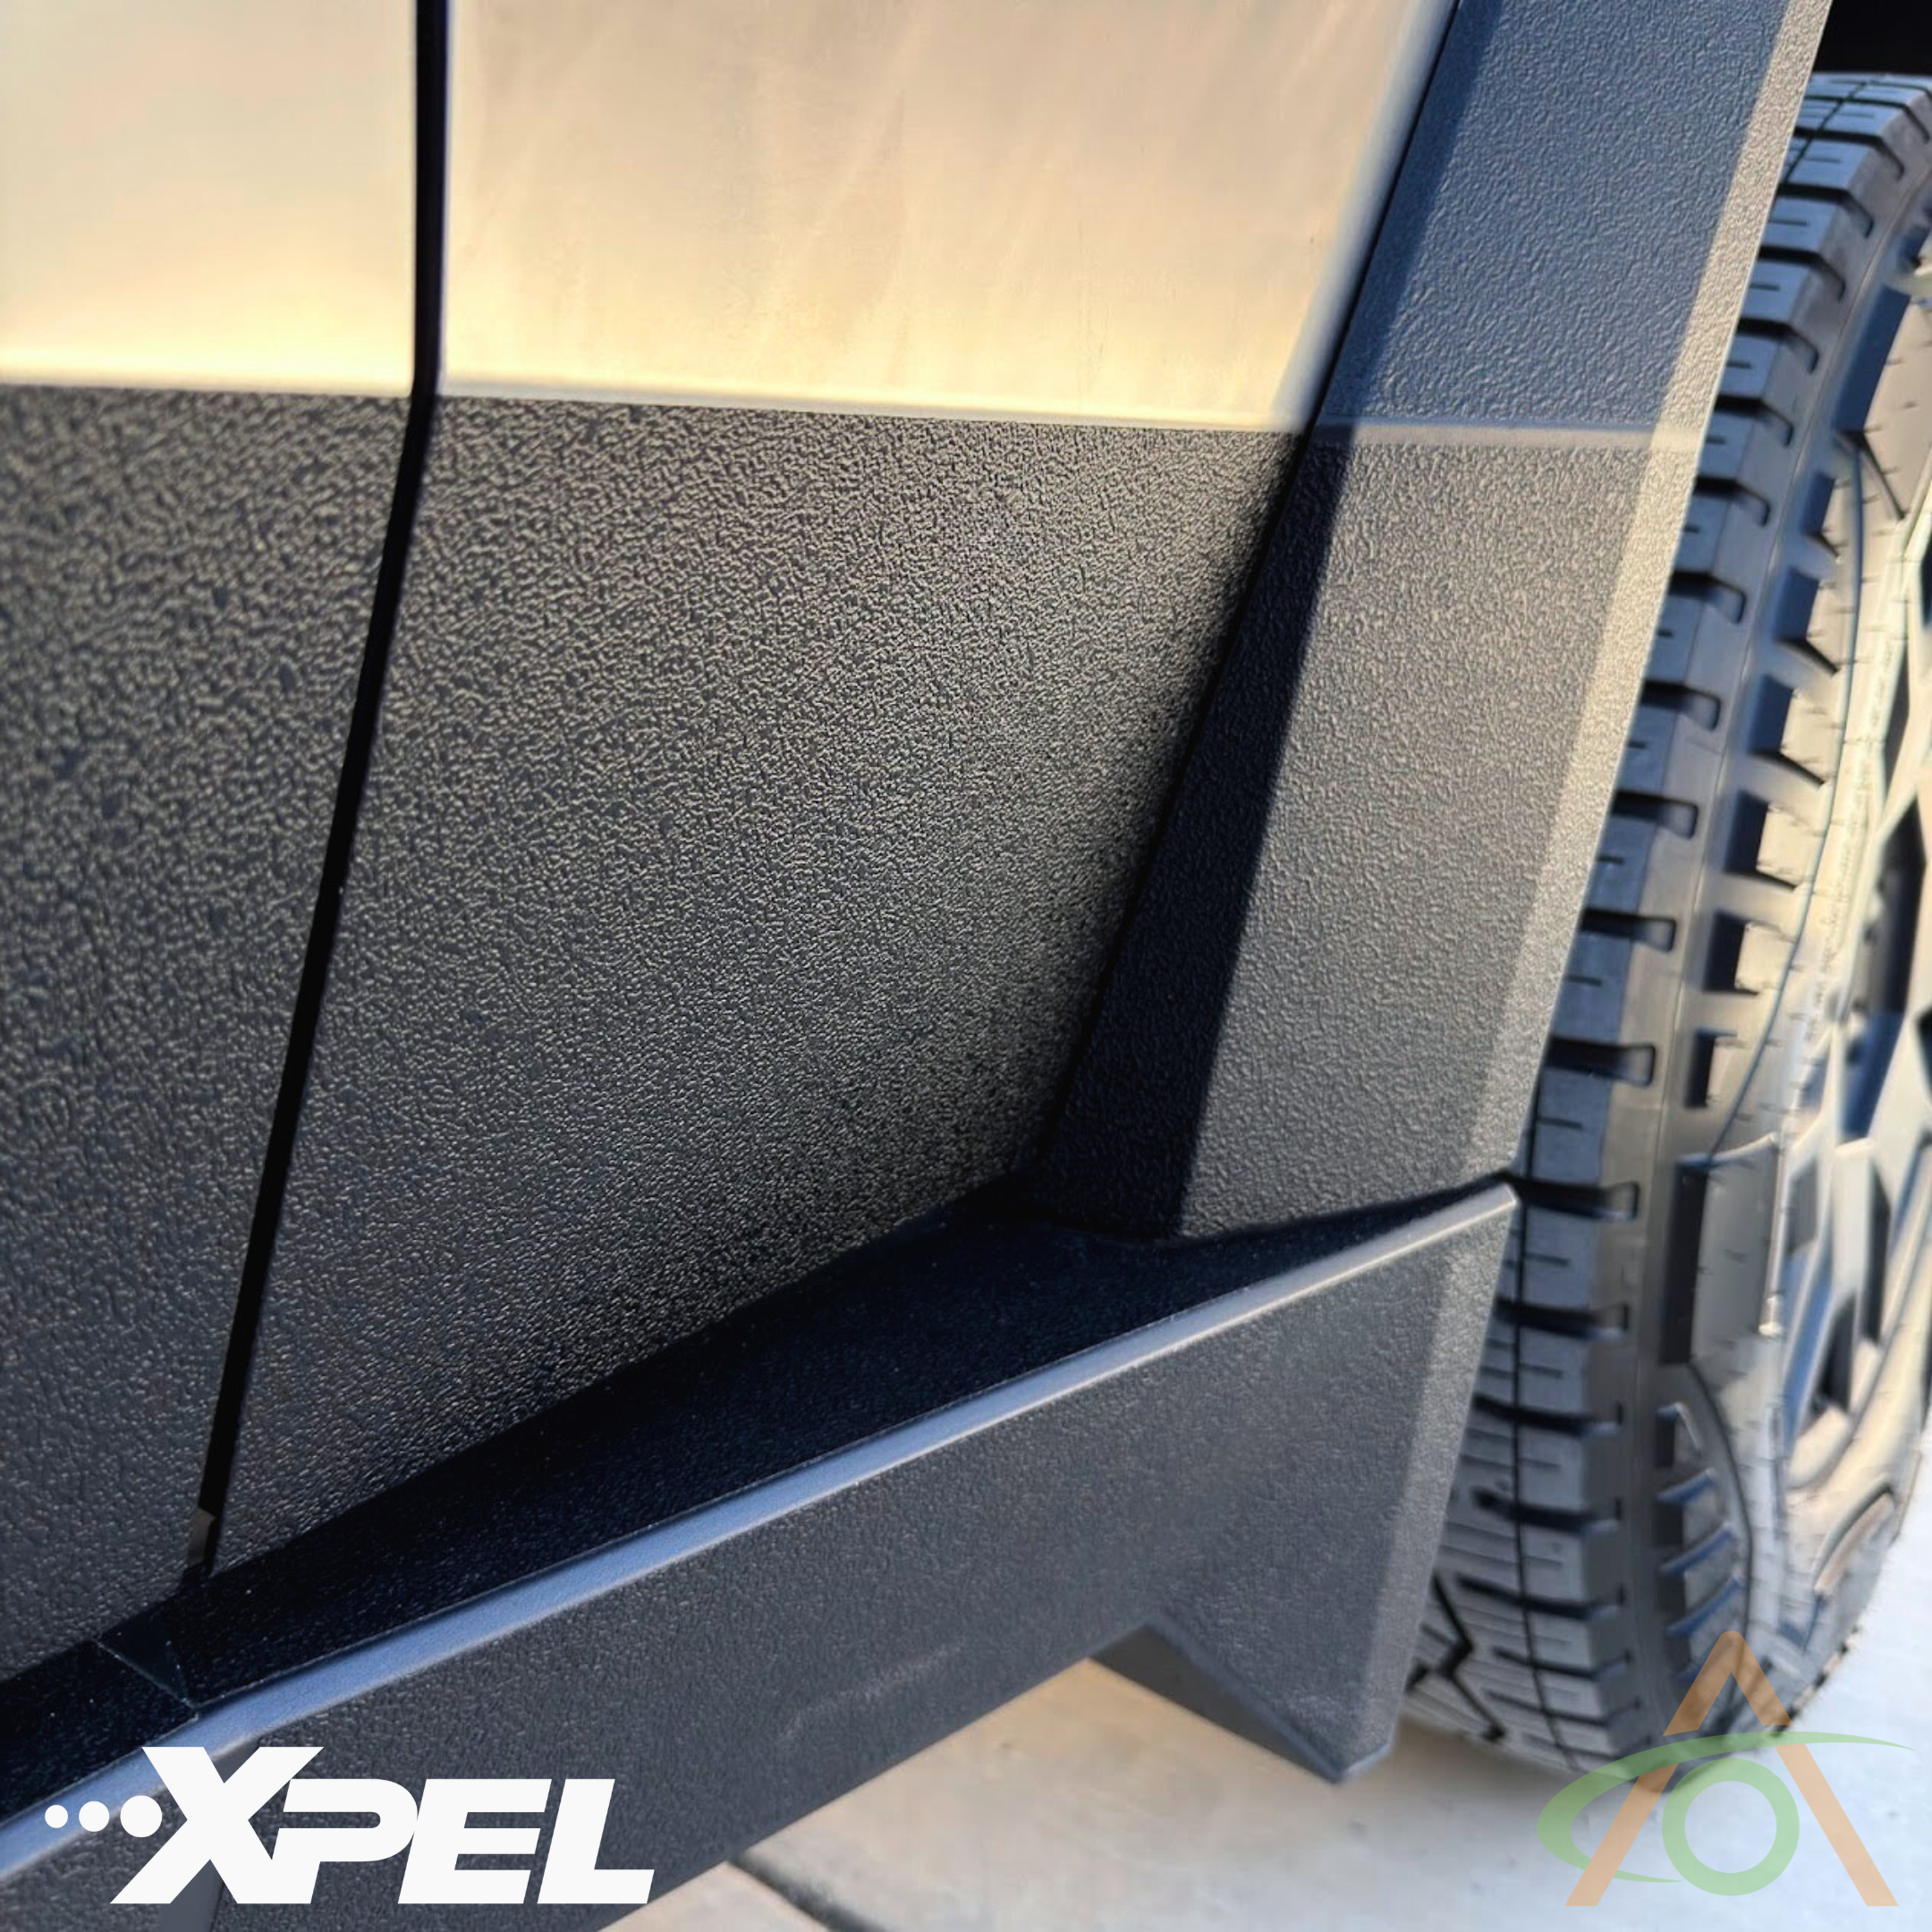
Please refer to the video below. I make lots of mistakes with the rear door, so use that as reference if you need help with any installation issues!
Installing the Xpel Armor door pieces
- Install when the temperature is around 70°F (60–80°F). Above 80°F the material gets very tacky; below 60°F it will not stretch, and you need some stretch to position the pieces.
- Work indoors if you can. A breeze outside will catch the film and fold it onto itself.
- Clean the lower third of the doors with isopropyl alcohol. Clean the underside of the bottom door edges and the door jambs at each end of every panel as well, since the film wraps around those edges and any dirt there will stop it sticking.
- Use the printed instruction sheet in the kit to identify which piece goes where.
- Start with the front door panel. Peel the backing off and hold the piece at each end, keeping it at roughly 45 degrees to the door so the bottom edge does not touch and stick too early.
- Line the top edge of the film up with the fold in the door, checking the left and right ends at the same time. Tack the top edge in place.
- Keep one hand behind the film to hold it off the door, and squeegee from the middle downward.
- Check the alignment before going further. You should have about 8–9 mm (roughly a third of an inch) of film past each end and past the bottom edge to wrap around. Squeegee out any trapped air.
- Open the door. Press the film down with the palm of your hand along the bottom edge to warm it, then roll the excess around the edge with your fingers, working along the panel. Aim for a tight fold; this trailing edge is where air gets trapped.
- If a corner bunches up rather than folding flat, trim a small piece off the corner with scissors so it rolls over cleanly.
- Wrap the film around the end of the panel into the door jamb, pressing from the outside first and then from the inside. Keep your hands clear of the door opening while you do this.
- Check the bottom edge is tacked down along its length, then close the door.
- Install the small piece ahead of the front door. Pull the adjacent trim away slightly to give yourself room to work behind it. Set the top line, then run the piece down alongside the trim and squeegee it.
- Open the door and roll the edge of that piece around, tucking it adjacent to or under the rubber weather seal, then roll the bottom edge up. Push the trim back into place and close the door.
- For the rear door panel, set your alignment from the front door piece you have already fitted, not from a body fold. Door alignment varies, and the front piece is your reference for everything else.
- Set the rear piece from one end first, still holding it at about 45 degrees. Line the top edge up, bring your hand behind the film, then squeegee downward.
- If you get a bubble, stress in the film, or the line sits too high or too low, peel the film back from the nearest edge and re-lay it. The material is flexible and will take several attempts.
- If you find you have stretched the film out of shape from repeated repositioning, use heat to reset it back to its original shape.
- Open the door and roll the rear panel's edges over the same way, trimming corners where needed. Close the door and step back to check the alignment.
- For the rearmost piece, pop off the false trim that seals the edge of the door jamb and set it aside.
- Line the piece up on its left side to the edge of the trim, then squeegee it down, tucking it under the trim where needed.
- Peel back and re-lay any area with small trapped bubbles.
- Roll the bottom edge over. Use the hard side of the squeegee to get the film tucked under the side edge for a sharp line.
- The final fold on this piece is blind. Roll it over with your fingers, working along systematically so it is stuck down for its full length.
- Pop the trim back into place.