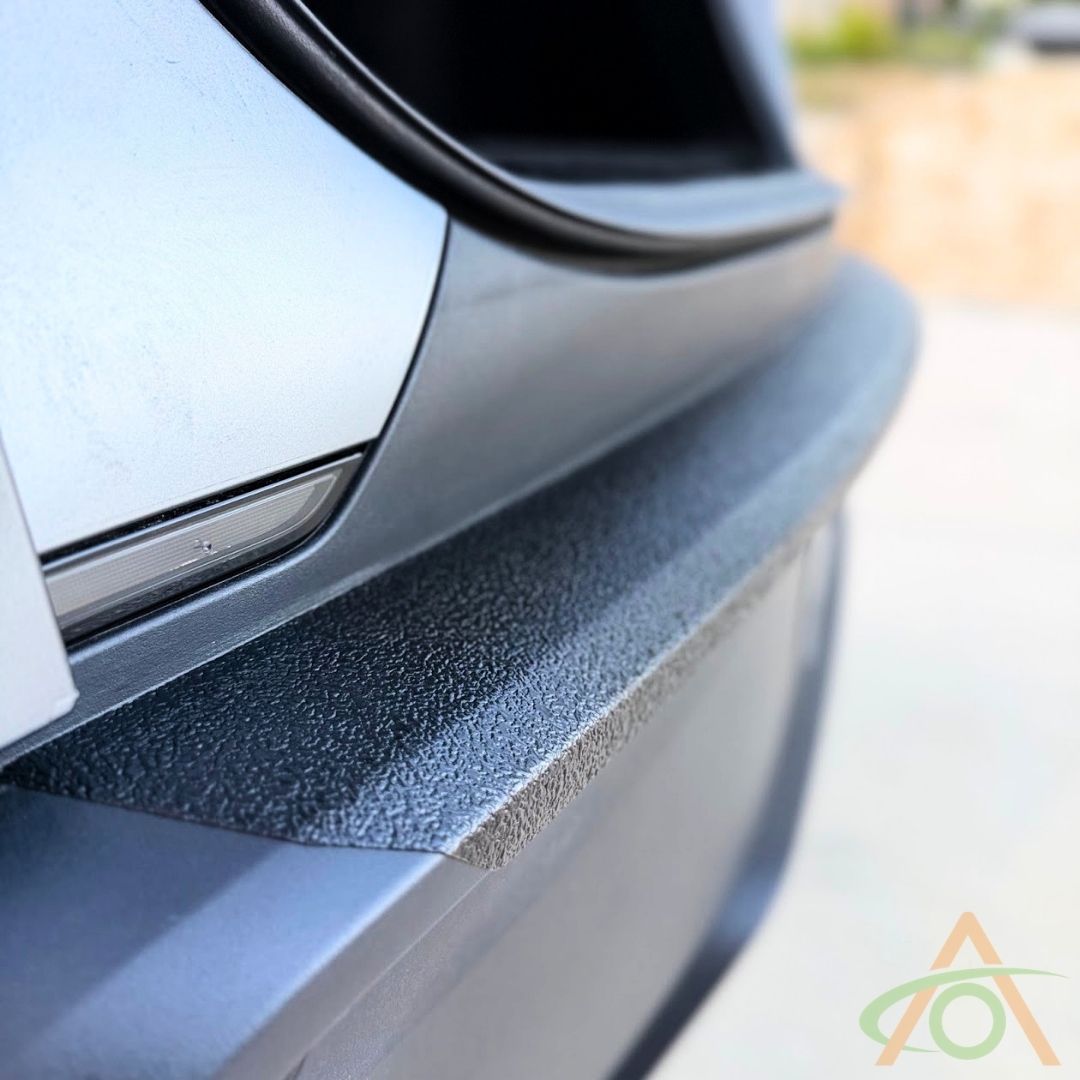


Fits: Refreshed Model Y (Juniper), 2026 onwards. Not the original 2020-2025 Model Y.
Watch the installation video below. It runs through the whole job start to finish.
How to install it
Takes 5 to 10 minutes. It goes on dry: no spray or slip solution.
Before you start
- Install it between about 65 and 85°F, or with the bumper in the sun. The material is much stiffer when it is cold.
- Clean the top of the bumper with isopropyl alcohol. This matters most if you have ever used a plastic restorer such as Back to Black. Those products leave an oily, waxy film that stops the protector sticking.
Steps
- Find the small notch in the protector. It marks the center. It is easy to see while the protector is still on its white backing, so look for it before you peel anything.
- Hold the protector in place and line the notch up with the trunk latch striker in the middle of the bumper. Being slightly off center either way makes little difference.
- Peel the backing back from one end, just past the center point. Lay the center down at the striker and tap it into place.
- Work out toward that end, pressing the protector tight into the corner where the flat top of the bumper meets the vertical face. Steer the unstuck part with one hand and press it down with the other. Get only the top surface down at this stage.
- Peel the rest of the backing away and do the other end the same way.
- Remove any bubbles on the top surface. Lift the protector back past the bubble and smooth it down again with the squeegee. It peels off and goes back on as many times as you need, so if it has gone off line, peel it back and lay it again.
- Once the top is down, run the flat of your palm firmly along the crease where the bumper turns down. The warmth from your hand softens the material so it bends around the edge. Do the same on the next bevel below it. A squeegee works too if you prefer.
- Work along the lower part with your palm or the squeegee, with firm, even pressure, so no edge is left to lift. Check again for bubbles.
- Run a finger along the bottom edge. It should not catch. If it does, the protector is not tight enough into the corner at the top: peel it back and lay that section again.
Stuck on anything? Our help center has the rest of our guides, and you can reach a real person from there.