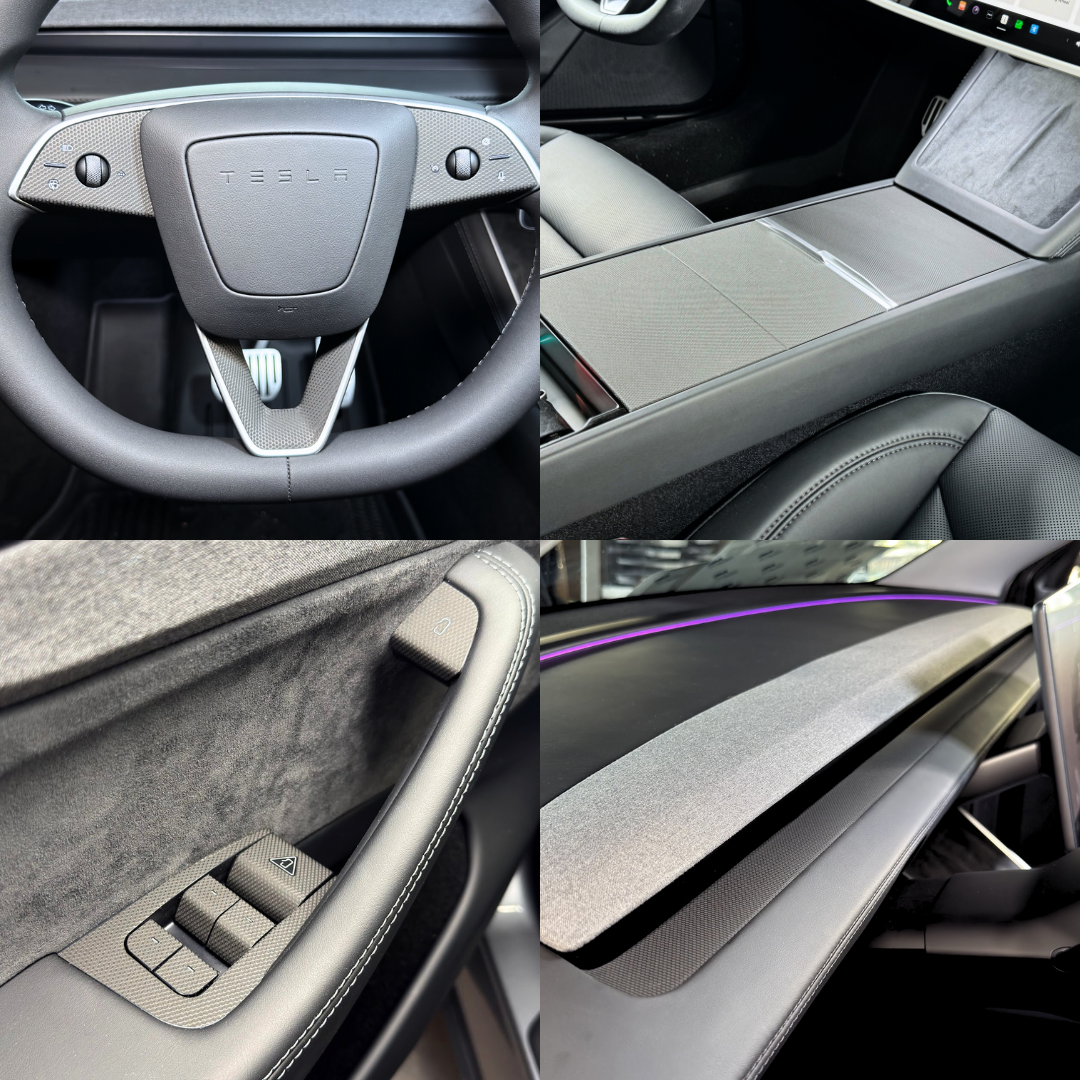
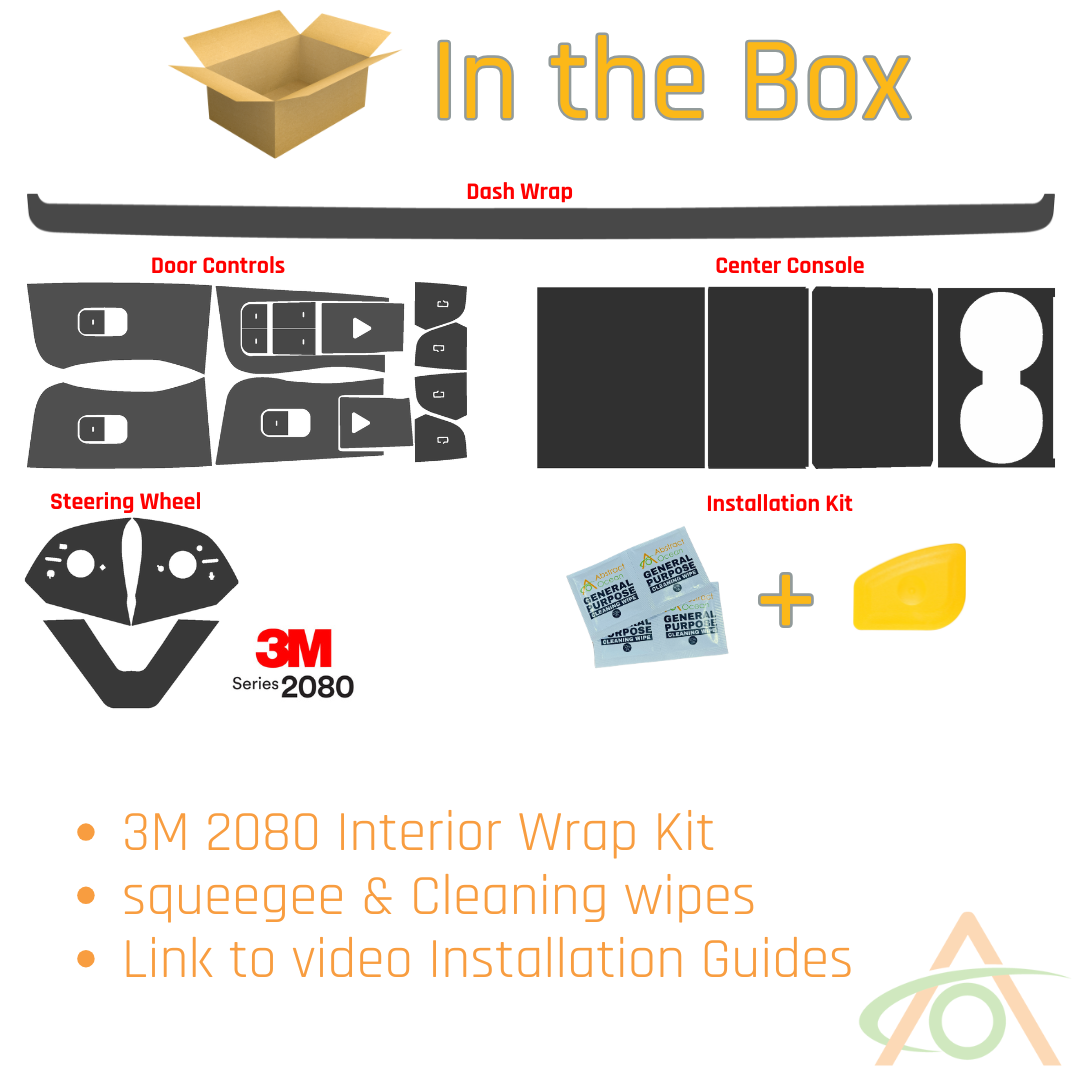
Please refer to the videos below. We recommend following them in order, as we've started with the easiest. Don't forget, if you can freeze the vinyl for a few minutes before installation, it helps with the installation, since it's less tacky and floppy.
Installing the steering wheel wrap (Model 3 Highland / Model Y Juniper)
- Put the vinyl in the freezer for about 10 minutes before you start. This makes it more rigid and much easier to line up, especially with the thinner vinyls such as satin white.
- Work in a cool place if you can. Avoid having air blowing onto the vinyl while you install it.
- Wash your hands. You will inevitably touch the back of the vinyl, and clean hands keep grease and dirt off the adhesive.
- Clean the steering wheel surfaces with the supplied alcohol wipes. Wipe gently so you don't activate the buttons, particularly the screen wash. With thicker vinyls like matrix black or carbon fiber you don't need to remove every speck of dust, just get the surface clean. With thinner vinyls such as satin white, be more diligent and leave no dust behind.
- Start with the bottom section. Line the piece up on the bottom edge first and anchor it there.
- Work up one side, guiding the vinyl slightly so it covers all of the metal, and tuck it up inside the aluminum trim. Repeat on the other side.
- With the piece locked in at both sides, use your fingertips to set the bottom section down. If you get a crease, peel that area back and lay it again.
- Finish the bottom section with the squeegee to work out any air bubbles.
- Move to the left panel. Peel the backing off carefully so you don't stretch the vinyl.
- Hold the piece over the panel and look at it straight on. Line up all three icons, the cutout for the scroll wheel, and the detail below it. Tuck the piece in behind the horn area and drift it around until all the alignment points match.
- Once it lines up, press it into place with light finger pressure.
- Squeegee the panel down. Don't hold pressure on the buttons long enough to trigger the screen wash.
- Roll the bottom edge under with your thumb; the friction helps wrap it over the edge.
- Do the right panel the same way. On the Highland there are also two indicator arrows on this side to line up. If you'd rather not touch the back of the vinyl, use the squeegee as a finger to hold and position it.
- Hover the piece in place until everything is aligned, touch it down, then check the alignment still looks right.
- Squeegee this panel down. There is nothing here that presses in, so you can be a little firmer. Roll the bottom edge under and finish with the squeegee.
- If you see bubbles, pull that section back and lay it again.