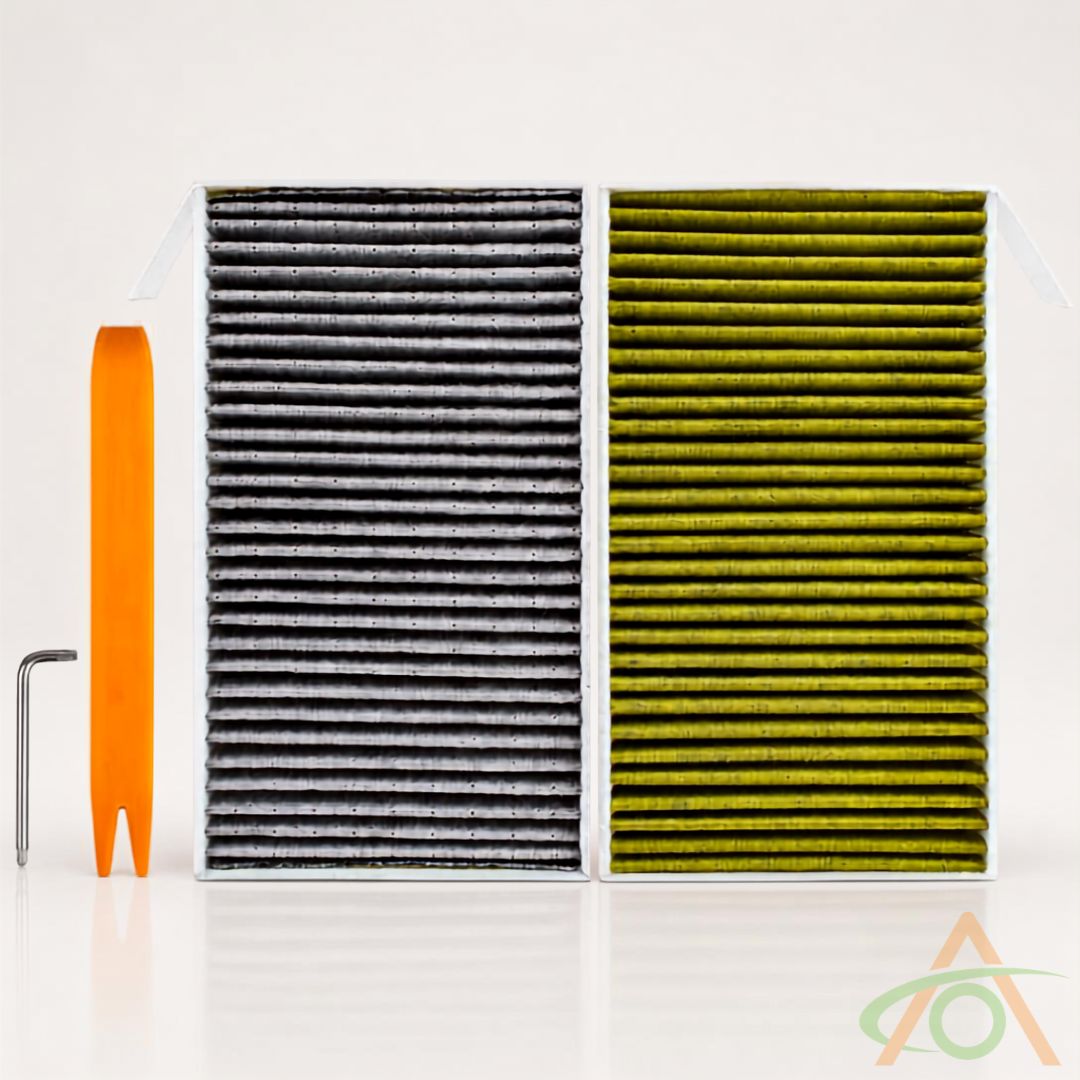
Watch the installation video below. It runs through the whole job start to finish.
Stuck on anything? Our help center has the rest of our guides, and you can reach a real person from there.
Installing your cabin air filters
Fit the moisture clip (OEM-style filters only)
The moisture clip is an optional add-on for the OEM-style filters. It sits on the lower filter and keeps AC condensate off the filter media, which is what causes the smell. You do not need it with the four-layer Advanced filters, as their open-cell foam already holds them clear of the moisture.
- Take one filter and set it aside as your lower filter. You only need one clip, and it goes on the lower filter.
- Hold the clip so the tab sticks out from the filter.
- Position the clip about 4.25 in (108 mm) from the pull-tab end of the filter. This lines it up with the drain area in the car. It does not have to be exact.
- Clip it over the edge of the filter so the small teeth bite into the filter. Do not just rest it on top — it must clip over, or it can fall into the AC unit.
- Push the clip on, then pull it fully over the edge on each side so it is seated on both sides.
Get access to the filters
- Slide the passenger seat all the way back.
- Turn off the AC.
- Remove the passenger floor mat and the Velcro pocket from the footwell.
- Pull the passenger side footwell trim panel away. Grab it at the top edge and pull firmly — it is held by a lot of clips and can take some force. Use the pry tool from the kit if you need help getting behind it.
- Pull down the carpeted piece above it so it is out of the way. You can remove it completely if you want more room, but you don't have to. It locates on a lug and pushes back up into place.
- Pull down the panel held up by magnets. It just pulls straight down.
Remove the old filters
- Release the filter access cover. Which method you use depends on your car:
- Model Y Juniper: no screw. Push the cover up and pop it out of the clip at the top.
- Newer Model 3 / Model Y: a T20 Torx screw at the bottom of the cover.
- Earliest Model 3: a T20 Torx screw at the top of the cover, which is hard to reach.
- Take hold of the pull tab on the upper filter and work it out.
- Lift the lower filter up slightly and pull it out. Expect it to be damp.
Fit the new filters
- Take the filter with the moisture clip fitted and work it into the lower slot. Wiggle it as needed, but be careful not to knock the clip off.
- Hold the pull tab and drop the filter down into place.
- Fit the second filter into the upper slot the same way.
- Check that both pull tabs are sticking out.
- Fold the top filter's tab down so it is clear, then refit the access cover. Get it up underneath, clip it in at the top and bring it down into place.
- Push the magnet-held panel back up onto its lug.
- Refit the carpeted piece, making sure it tucks underneath the trim.
- Line the footwell trim panel back up and push all the clips home. Check along the top edge that none have been missed.
- Put the Velcro pocket and floor mat back.
Reset the service reminder
- On the touchscreen, go to the main menu.
- Select Service, then Maintenance.
- Select Cabin Air Filter, mark it as replaced, and confirm. This resets the timer.