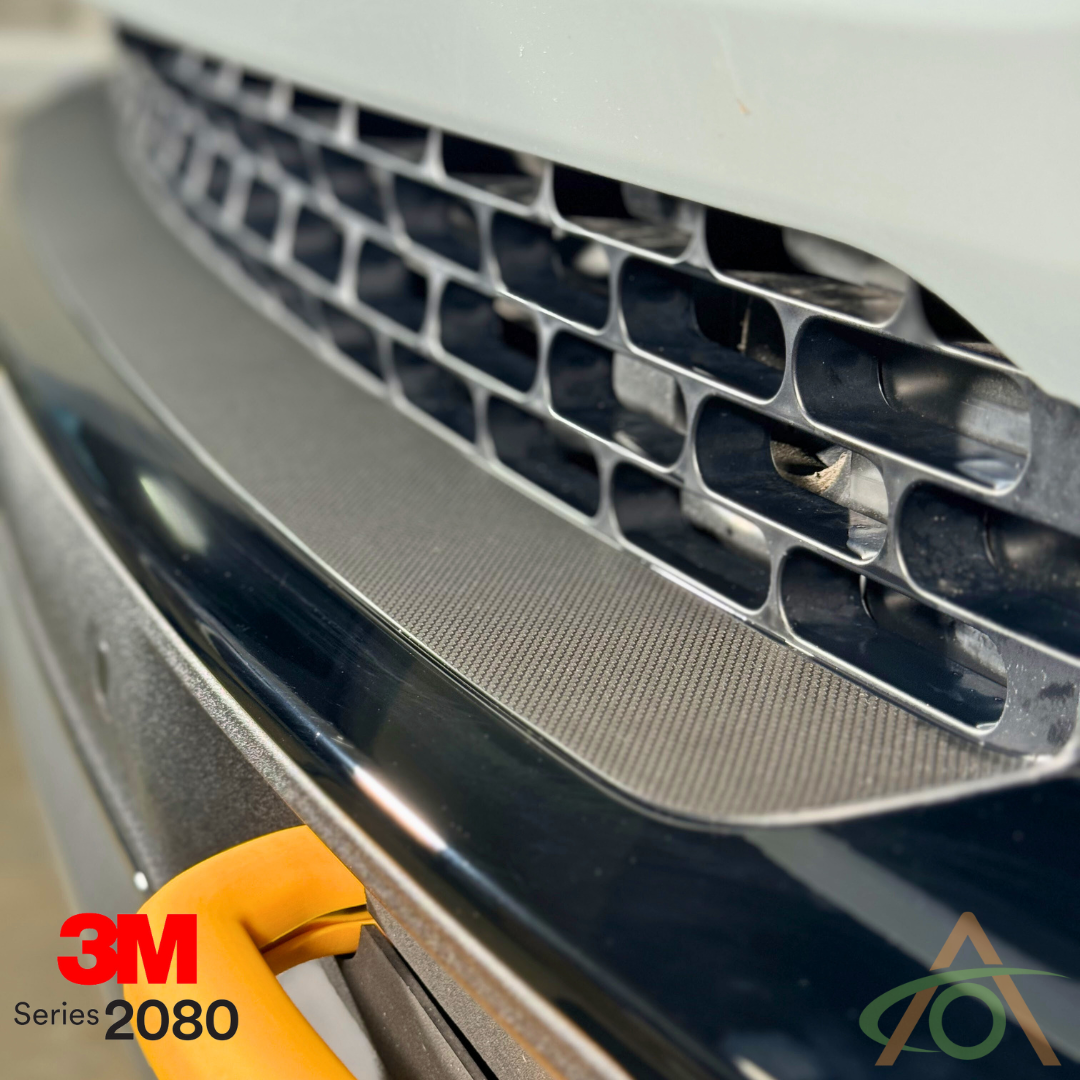
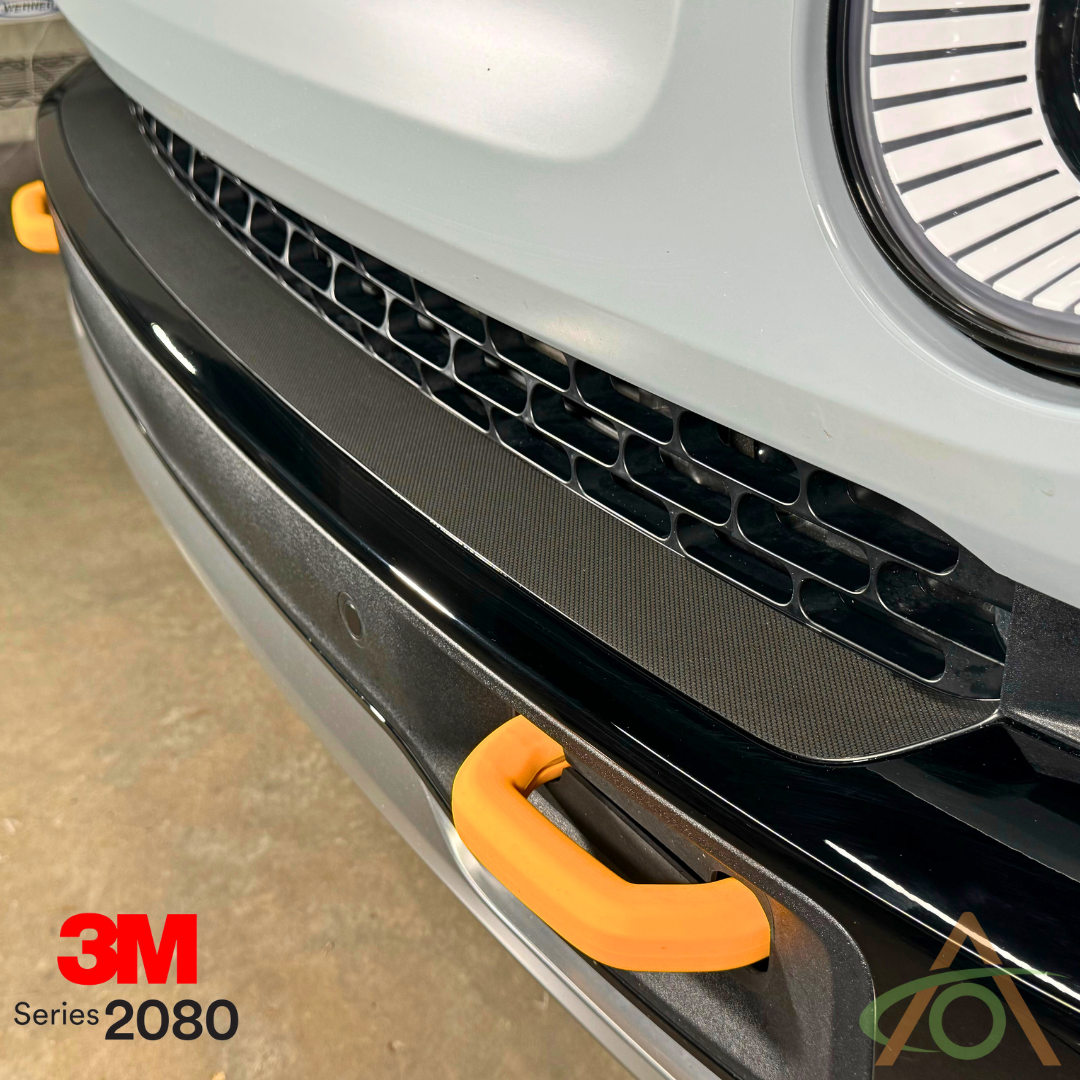
Allow just a few minutes to prep and install, and try to install when the temperature is between 60-80f (15-27c), so that the vinyl is easy to work with.
Installing the front lip vinyl
- Mix the supplied soap concentrate with water in a spray bottle.
- Clean the front lip where the vinyl will go. Any dirt or grit left behind can end up trapped under the vinyl.
- Wash your hands, then spray them with the soap solution so you don't contaminate the adhesive side of the vinyl.
- Lay the vinyl on the hood to use it as a work surface.
- Peel the backing off halfway and roll it back, then spray the exposed adhesive side with the soap solution.
- Spray the application area on the lip generously. You want enough solution that the vinyl can slide around for lining up.
- Lay the vinyl in place. Check that it slides; it will feel slightly grippy because gravity is pulling on the piece.
- Line up the right-hand end first, then push the piece back so it sits tight against the back edge of the vent area.
- Hold the squeegee at the top edge and work your way along to push out the first set of bubbles.
- Peel off the remaining backing and apply the rest of the piece the same way.
- Wipe the surface with the rag to take the moisture off the top.
- Squeegee down across the whole piece to work out any trapped air or fluid. Do this even if the surface looks finished; trapped fluid is hard to see under carbon fiber.
- Work the corners with your fingers. Fluid collects there.
- Leave the truck parked for a day or so to let the remaining moisture evaporate. Leave it longer in bad weather, or park in the sun to speed it up.