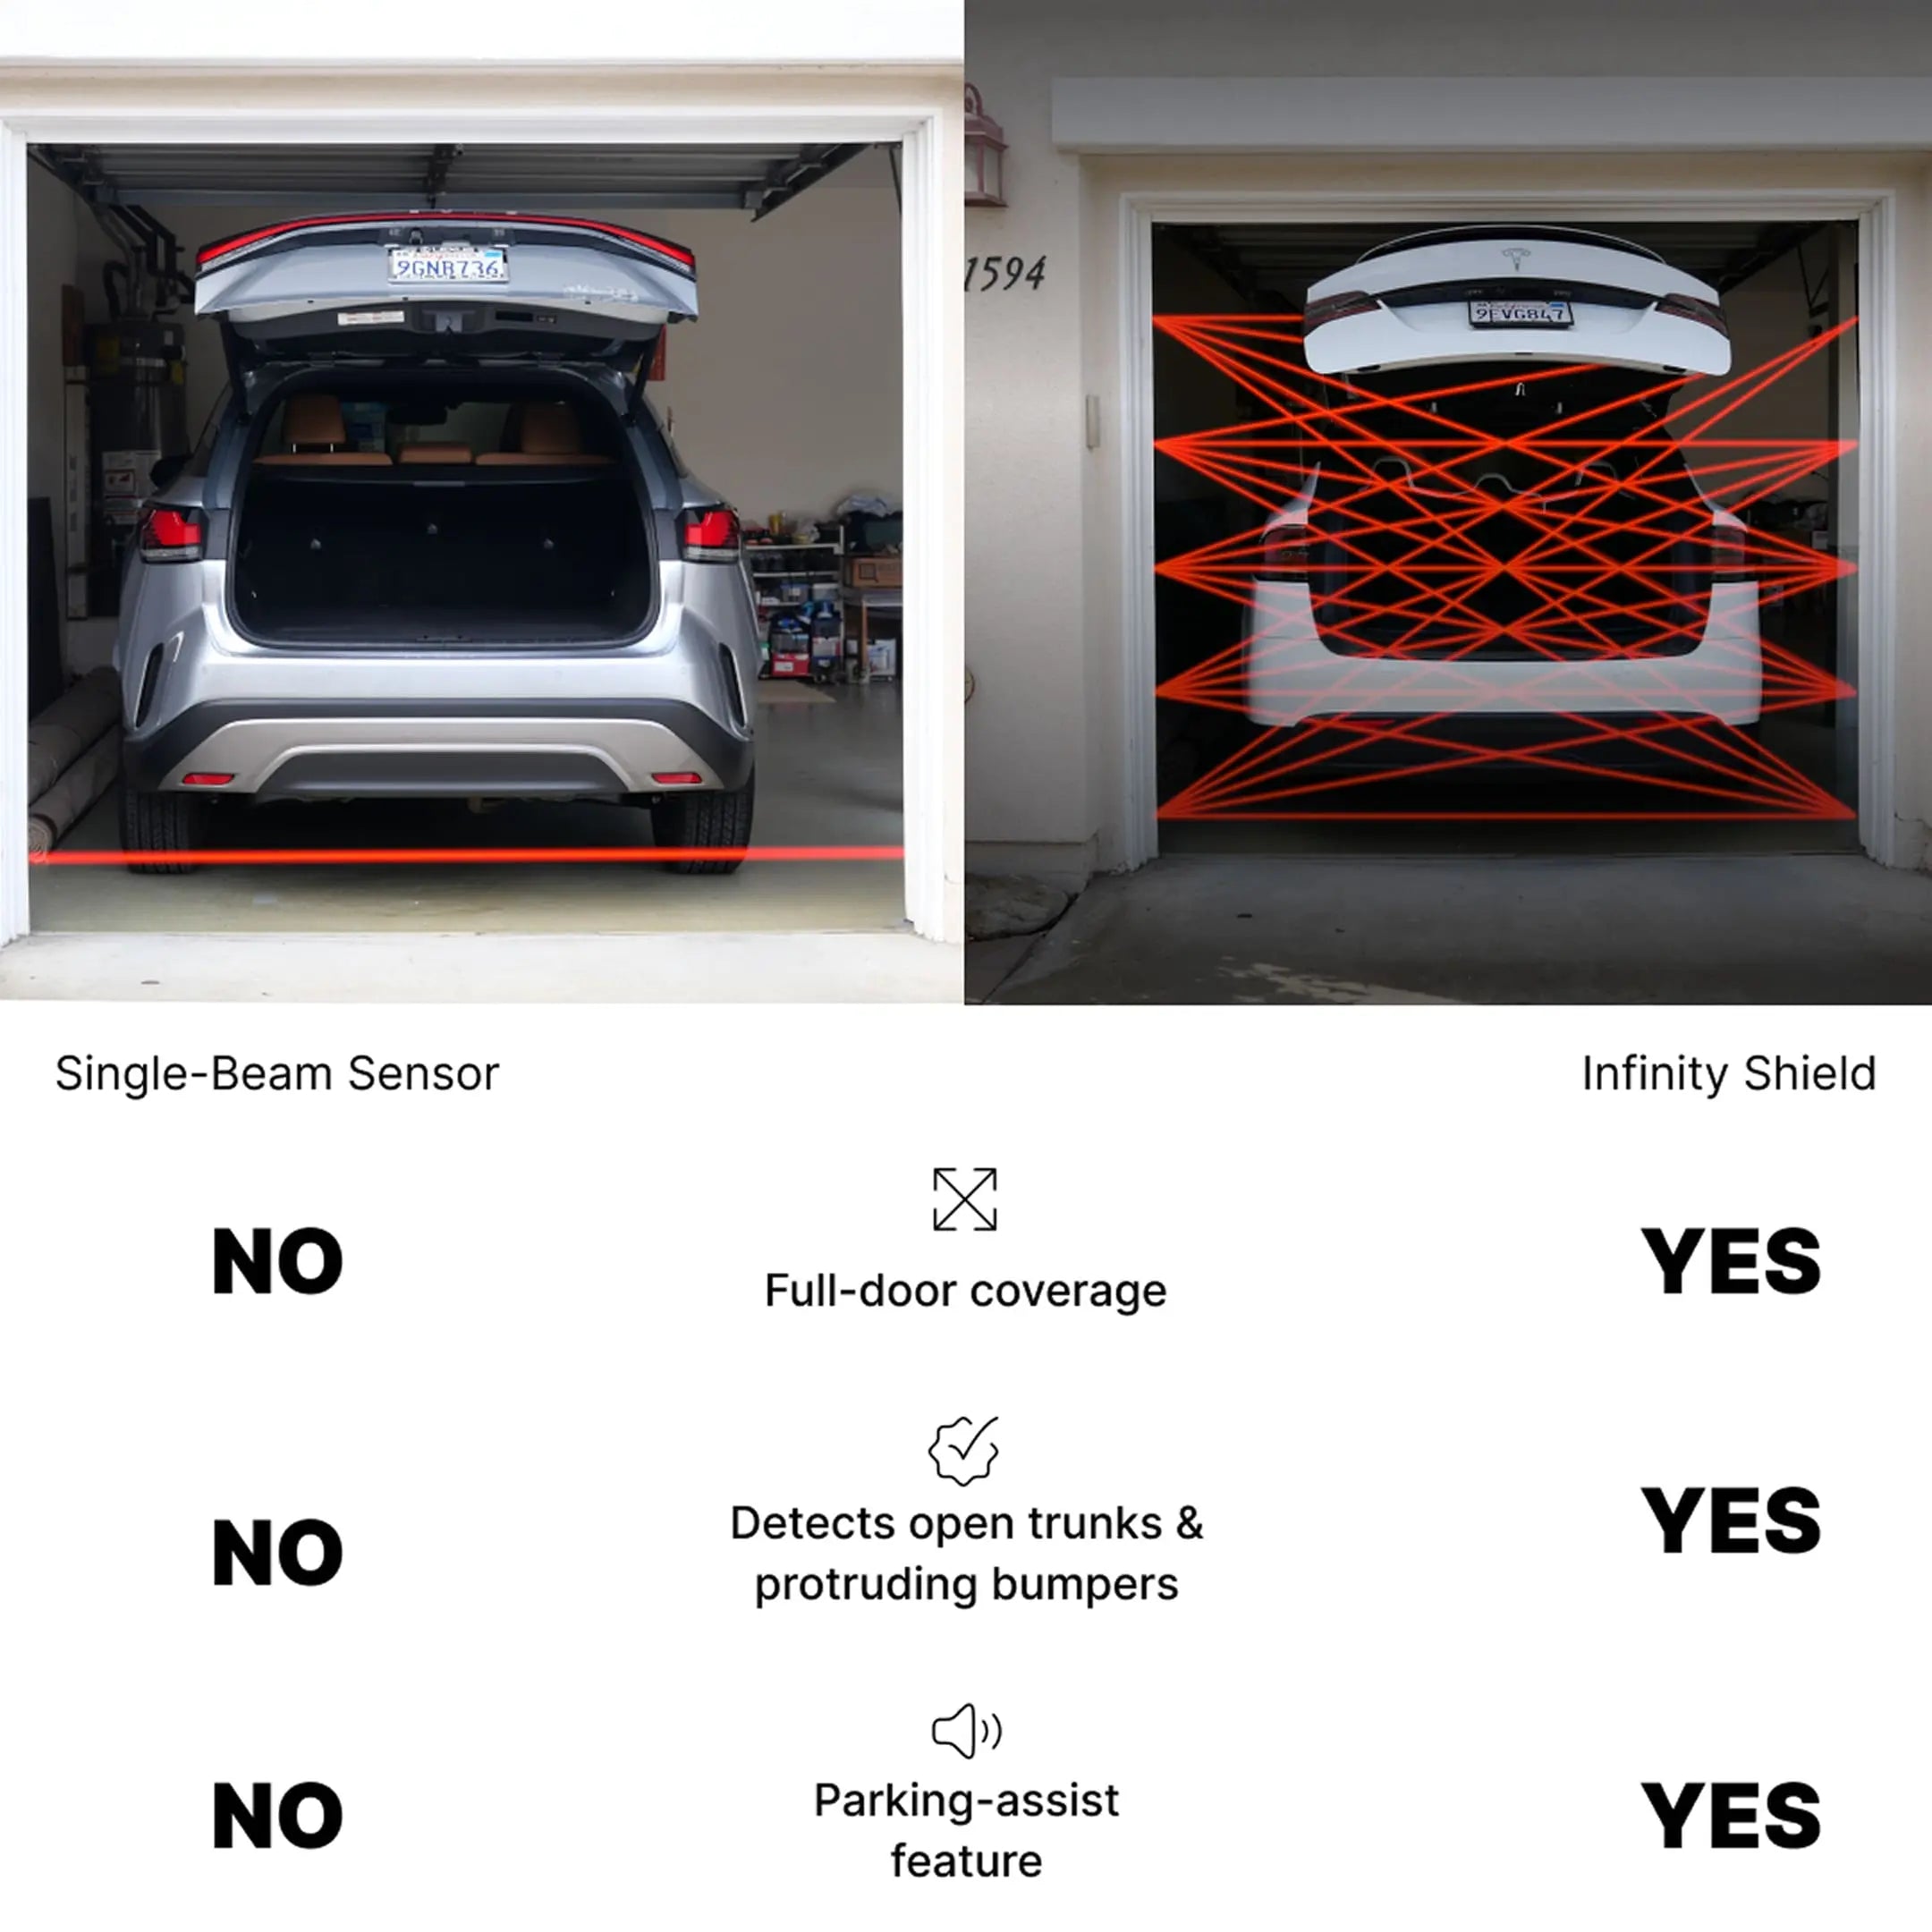
Installing the Infinity Shield is an easy project. The video below goes through it step by step but fundamentally it's plug and play, replacing your existing sensors with the Infinity Shield sensor rails. I do recommend watching the video since it has a few useful tips and might help you avoid mistakes during installation.
Installing the Infinity Shield
Before you start, have these on hand:
- Wire nuts or push-in wire connectors to join the rails to your existing sensor wires
- A small screwdriver for the dip switches
- Wire strippers and snips
- A roll of tape to mark the mounting positions
- Unplug the garage door opener from the power outlet.
- Hold a sensor rail against one door rail to work out where it will sit. Keep it clear of anything already mounted on the rail, such as deadbolt hardware or the brackets fixing the rail to the wall.
- Mark two mounting clip positions on the door rail with tape. Space them roughly equidistant so the rail is well supported, and keep them clear of other hardware.
- Check that the same two positions work on the opposite door rail, then mark that side to match.
- Push the mounting clips onto the door rail at your tape marks. The claws that grip the sensor rail must face the same direction the sensors will face, that is, out across the door opening.
- Fit the clips on the other side the same way, claws facing out across the opening.
- Pull the existing single sensor off its bracket on the first side. Snip its wire, leaving enough of a tail that the original sensor could be reconnected later if you ever need it.
- Split the two conductors of the cut wire and strip the ends. This is low-voltage bell wire.
- Take the transmitter rail, the one with the switch on it, and mount it on the right-hand side of the garage as you look out of the door. Push the top of the rail into its clip and snap the lower clip around it.
- Slide the rail down so the bottom sensor is around an inch off the floor, so you keep at least the coverage the original single sensor gave you.
- Twist the rail's wires onto the stripped sensor wires temporarily. Polarity matters, but getting it wrong only means the rail will not light up; it will not damage anything.
- Plug the opener back in and check the rail. A light confirms the connection. It will beep because it cannot see the other rail yet.
- Unplug the power again and finish the connections properly with wire nuts or connectors.
- Repeat on the other side with the receiver rail: remove the old sensor, snip the wire leaving a tail, strip the ends, clip the rail into place, and set it at the same height as the first rail. Start at the bottom clip to get the height right. Alignment between the two rails only needs to be approximate, not exact like the original single beam.
- Connect the receiver wires temporarily, restore power, and check the lights. If a rail does not light up, unplug, swap the two wires over on that side, and try again.
- Walk through the doorway to confirm the system sees you at any height along the rails.
- Open the cover on the transmitter rail and set the two dip switches for your opener brand using the chart supplied with the kit. For LiftMaster and Chamberlain, switches 1 and 2 both go down.
- Use the switch on the side of the rail to turn the beeper on or off as you prefer.
- Test with your remote. Close the door and break the beam at the top and bottom of the rails to confirm the door stops.
- Optionally, tidy the wiring up off the floor with cable ties, keeping the ties clear of the sensors.